Suppose you want to learn how to remove CyberPanel from your server. Here I will guide you through the possibility of that. Sometimes due to some issues, users want to remove cyberpanel from the Linux server. So here I will write what you can do for this case.
What is CyberPanel and what is it used for?
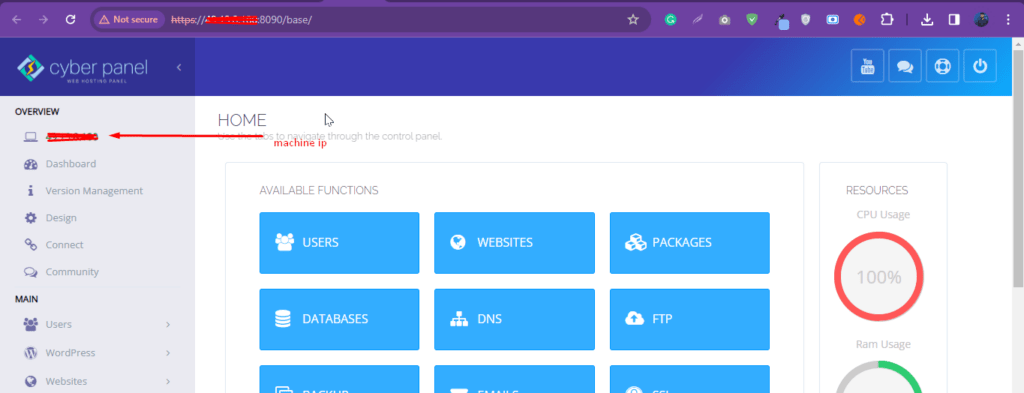
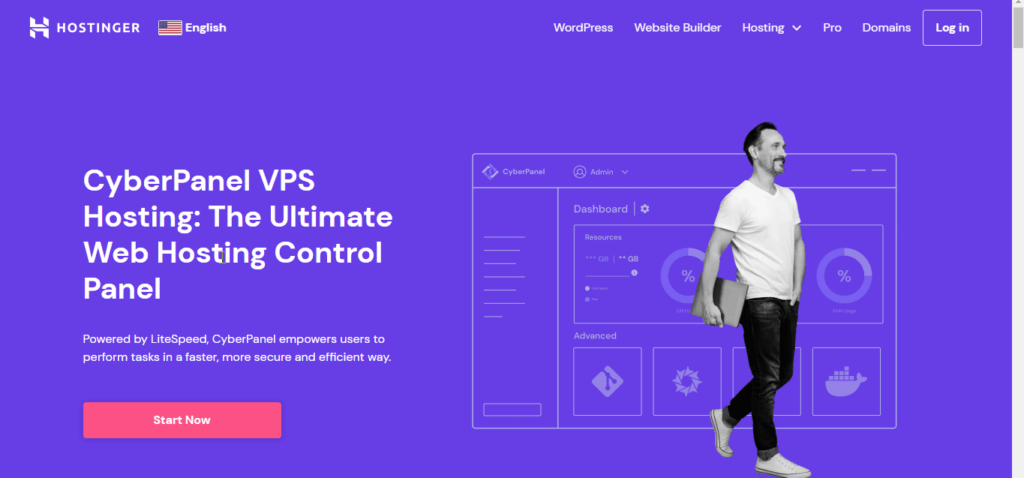
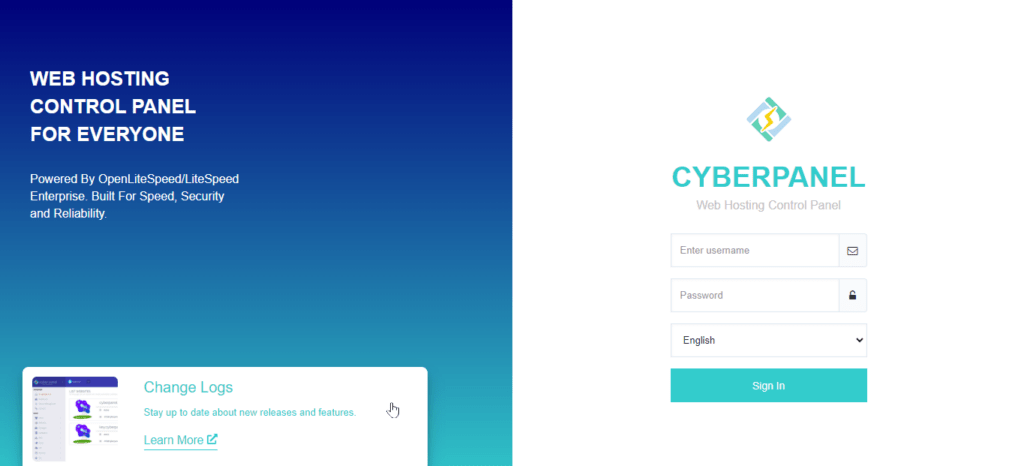
CyberPanel is an open-source web hosting control panel designed to simplify and automate the process of managing web servers. It is built to work with the LAMP (Linux, Apache, MySQL, PHP) or LEMP (Linux, Nginx, MySQL, PHP) stack, providing users with a user-friendly interface to manage their websites and associated services.
Here are some key features and uses of CyberPanel:
- Web Server Management: CyberPanel allows users to easily configure and manage web servers like Apache or Nginx. It streamlines the process of creating virtual hosts, setting up domains, and managing website files.
- Database Management: It supports various database management systems, such as MySQL and MariaDB. Users can create, modify, and delete databases through the CyberPanel interface.
- PHP Management: Users can manage PHP configurations and versions easily within CyberPanel. This is crucial for web developers who may need specific PHP settings for their applications.
- Email Management: CyberPanel includes tools for managing email services, such as creating email accounts, setting up domains for email, and configuring mail server settings.
- DNS Management: The control panel provides features to manage Domain Name System (DNS) settings, allowing users to configure DNS records for their domains.
- SSL/TLS Certificates: CyberPanel simplifies the process of installing and managing SSL/TLS certificates, enhancing the security of websites.
- Security Features: It includes security features such as firewalls, intrusion detection, and malware scanning to help protect websites and servers.
- Resource Monitoring: CyberPanel provides insights into server resource usage, helping users monitor CPU, memory, and disk space utilization.
- One-Click Applications: Some control panels offer the ability to install popular web applications like WordPress, Joomla, or Magento with just one click.
It’s important to note that the features and capabilities of CyberPanel may have evolved or changed since my last update, so I recommend checking the official CyberPanel website or documentation for the most up-to-date information.
A common reason to remove CyberPanel From the server:
- Reinstallation of CyberPanel
- Server errors
- Change of OS
- Change of Panel
- Change of server Provider
- if you have any other in mind do comment below.
There may be other reasons for this as well but in the end user wants a command or a way to get with it.
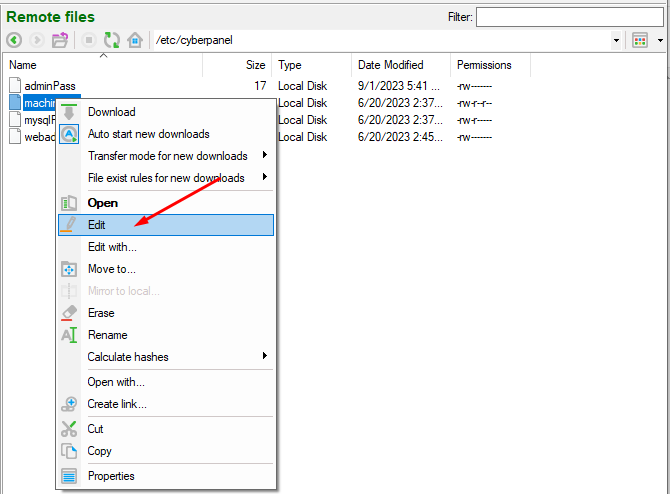
How to remove CyberPanel?
There is no specific command to run or any button in UI to do so but there are few ways to do.
- Rebuilt your server from the server provider.
- Reinstall OS from the server provider
- Change server from server provider
These are the only ways to remove CyberPanel from your server.
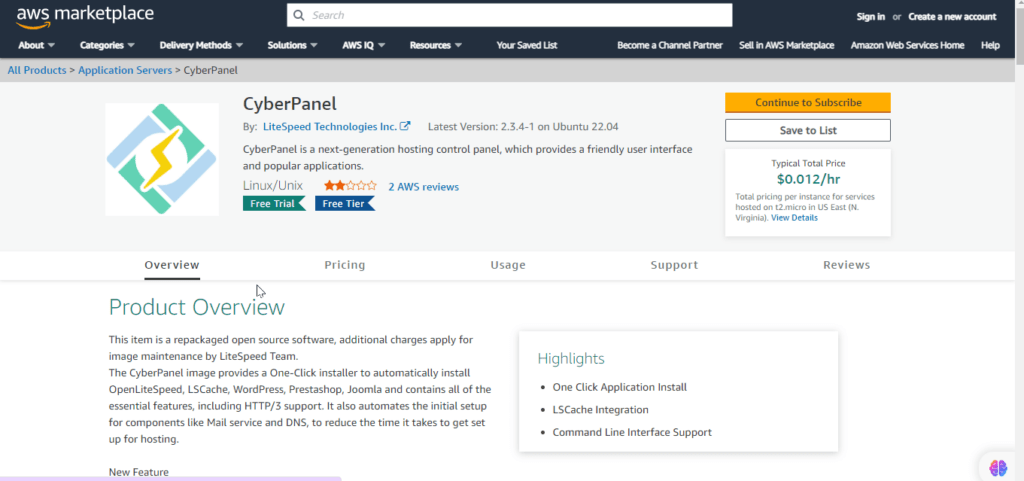
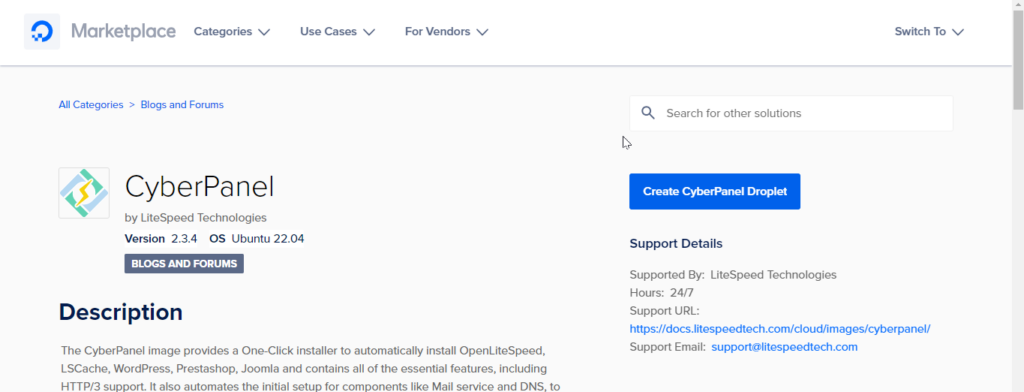
Here are some Operating systems that cyberpanel supports for the installation link.
We also have a complete guide to Cyberpanel that can help you understand each and every feature of Cyberpanel. Also how to use that feature is also written there. So here is the guide.
You can follow us on Facebook too.