Sometime after update you faced PHPMyAdmin blank page error CyberPanel. In this article i will tell you the shortest way to resolve PHPMyAdmin blank page error CyberPanel.
You have to do few steps to resolve this issue.
You have to load your default PhpMyadmin script and replaced it with the present script.
1.Login to SSH. Change directory to the phpmyadmin using this command.
cd /usr/local/CyberCP/public/phpmyadmin
2. Here you have one simple file and one the working config file. Rename the working config to the new file like config.inc.php.old using this command.
mv config.inc.php config.inc.php.old
3. Now rename simple file to the working file and try to access phpmyadmin from the CyberPanel.
mv config.sample.inc.php config.inc.php
Go to the PhpMyAdmin page of your CyberPanel and check now.
In this article, we will know How to change time zone on a Linux server using command line. This is a very easy and a few steps process so follow along to change your time zone according to your need.
The Time zone is the standard time for any specific region. The server time zone is a basic and one of the important things. Server time zone set while installing and setup server. Sometimes we need to change our server time zone according to our requirements. There are many ways but here we will go through command line one. This is one of the easy ways while using Linux.
How to check Current TimeZone of your server?
Before changing your server time zone first of all you must know what is the current time zone of your server to do so you just need to run a very simple command. This command is available in all Linux flavors.
open terminal and run:
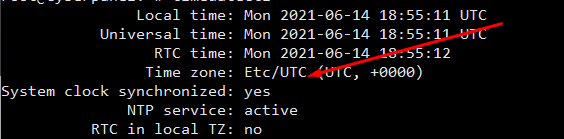
$ timedatectl
How to check Current TimeZone of your server?
You can see your current time zone of your server.
2. Set / Change Time zone on Linux Server Using Command line:
Before changing your time zone first of all you must have to know about the time zone you want to set. Like if you want to set somewhere in Asia. you must have to know about your region and cit. Now, how you can do it.
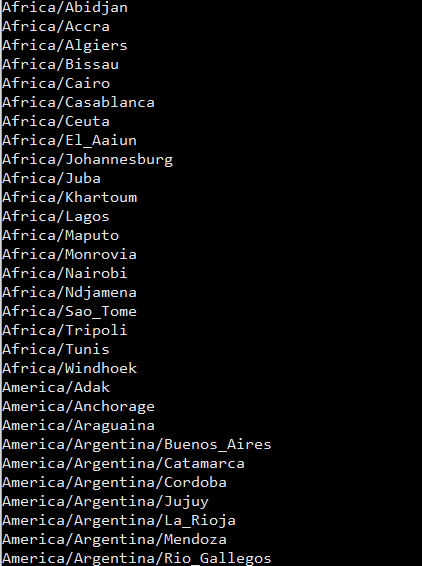
For this there is a command to list all time zones:
$ timedatectl list-timezones
List all time zones
Select your required time zone from the list and add it to this cmd.
timedatectl set-timezone “you time zone”
Make sure that you are login from root account if not use sudo with this.
$ sudo timedatectl set-timezone <your specific time zone>
set time zone
After running this run the timedatctl again and verify if time zone updated or not.
$ timedatectl
Now you can see time zone that you set using above methode.
NOTE: Time zone is one of the core important things many features and services depend upon it so before doing anything make sure that you understood all. moreover, you just need a reboot to apply a new time zone on all servers.
A lot of CyberPanel user uses Rainloop to handle their email. Rainloop is an internal email solution with CyberPanel. Here in this article, we will discuss how you can access Rainloop webmail in CyberPanel?
Rainloop is an efficient memory webmail solution. it is a fast, simple, and modern web-based client email client. Rainloop is the email solution that comes with CyberPanel. It has an amazing user interface. Not only the interface also works great as any other email services.
This article is specifically about access rain loop webmail in CyberPanel.
Follow these steps Access Rainloop Webmail in CyberPanel:
Login you CyberPanel:
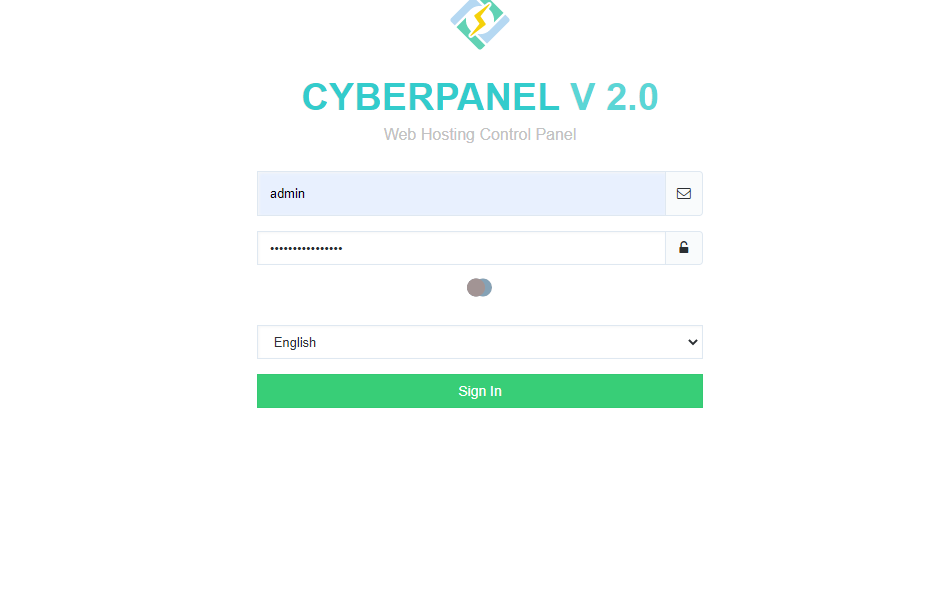
First of all, you need to log in to the CyberPanel dashboard. For this, you must have a username and password (admin or non-admin). Visit your the server IP or hostname with port 8090 to login to cyberpanel.
https://<ip/hostname>:8090
CyberPanel Login
2. Create and Email to Login:
Here you can read How to create email account. After creating mail keep these records so you can use to login.
3. Access WebMail:
To access webmail simple go to the Email->Access WebMail. you will be redirected to the link:
if you want to change Language, Layout, Default Text Editor, Message on Page, Notifications, etc settings. Login into rainloop admin dashboard and change there.
Sometimes we need to log in to the rainloop dashboard to do some configurations. Here in this article, we will tell you how to log in to rainloop admin dashboard?
Rainloop is an efficient memory webmail solution. it is a fast, simple, and modern web-based client email client. Rainloop is the email solution that comes with CyberPanel. It has an amazing user interface. Not only the interface also works great as any other email service.
RainLoop Admin Dashboard access address:
To access rainloop dashboard you just need to go to.
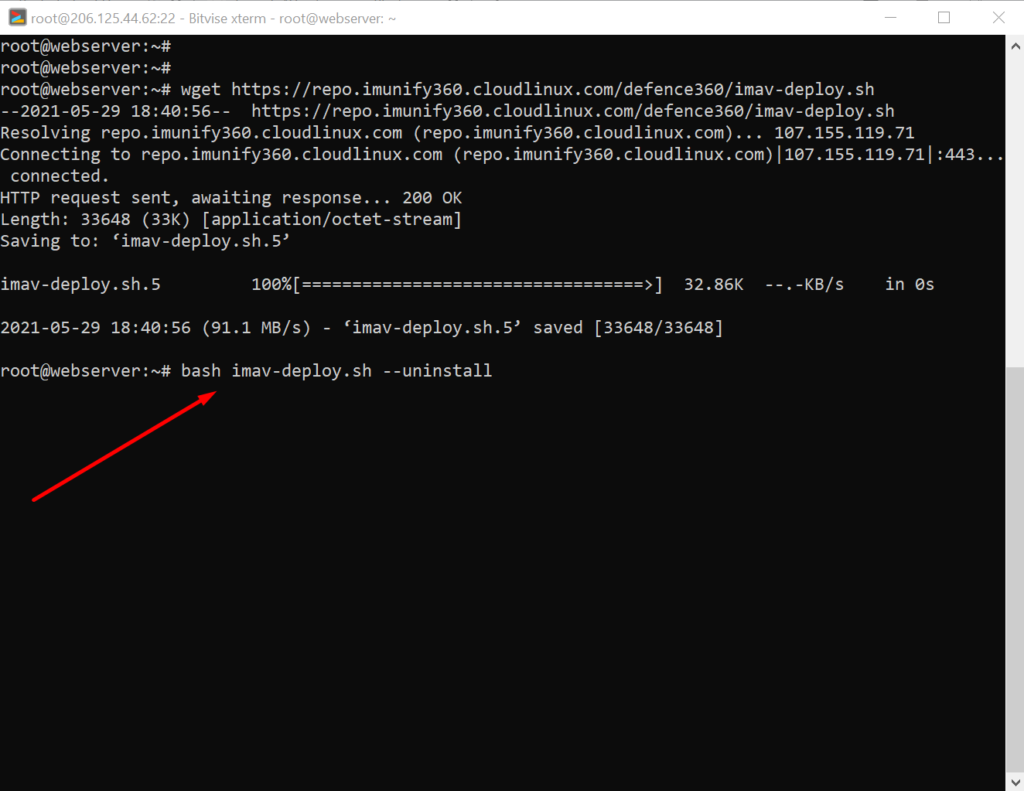
A lot of users install ImunifyAV but after some issue, if they want to uninstall they do not know how to do this. Here in this article, we will tell you How To Uninstall Or Stop ImunifyAV?
ImunifyAV – an intelligent antivirus and security monitoring tool for websites with one-click automatic malware cleanup, domain reputation monitoring, and blacklist status check. Read more about ImunifyAV
A lot of users install ImunifyAV but after some issue, if they want to uninstall they do not know how to do this. Here in this article, we will tell you How To Uninstall Or Stop ImunifyAV?
In this artical we provide the way where you can able to uninstall or Stop ImunifyAV.
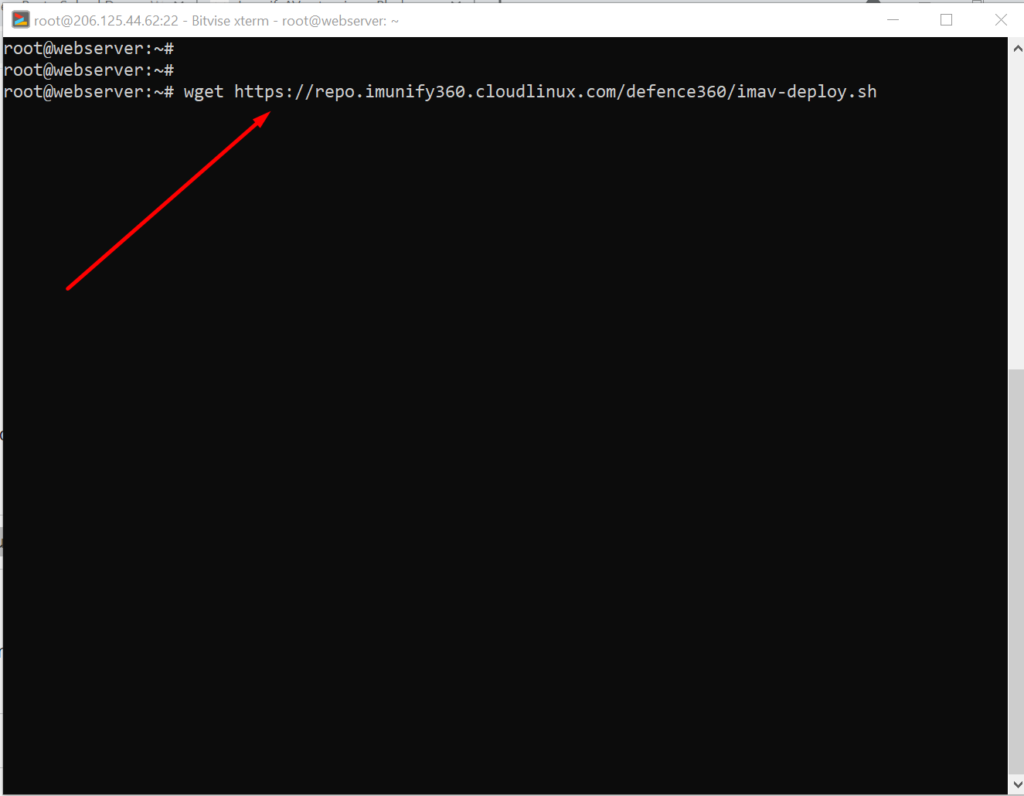
Uninstall ImunifyAV:
To uninstall ImunifyAV, you need to first download the imav-deploy.sh script with the following command:
if you are uploading a file on file manager in CyberPanel. and getting some error there. Follow this short solution for can’t upload the file on CyberPanel file manager.
Solution
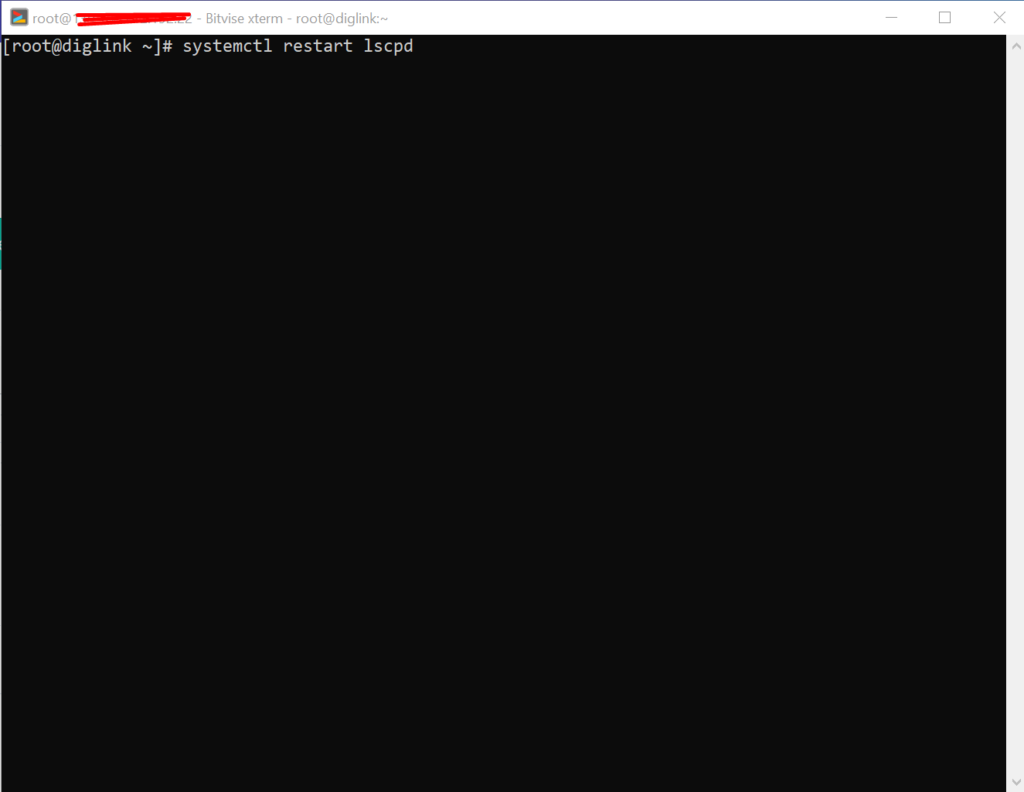
There is very easy and short solution for this issue. Access your root through Bitvise or putty open your terminal(CLI) and run this Command
Systemctl restart lscpd
This simple command will restart all of your CyberPanel services and now if you can try you can easily upload any file but there may be upload limit issue if so you can follow this tutorial to solve that Link below.
Maybe you have installed MailScanner on your server from CyberPanel, And you want to remove it for some reason. In this article, we are going to show how to remove MailScanner from CyberPanel?.
What is MailScanner?
MailScanner is an open-source email security system. it designed for a Linux-based email gateway. The purpose of MailScanner is to scans email for viruses, spam, phishing, malware, and other attacks against security vulnerabilities.
Follow the procedure to remove MailScanner form CyberPanel:
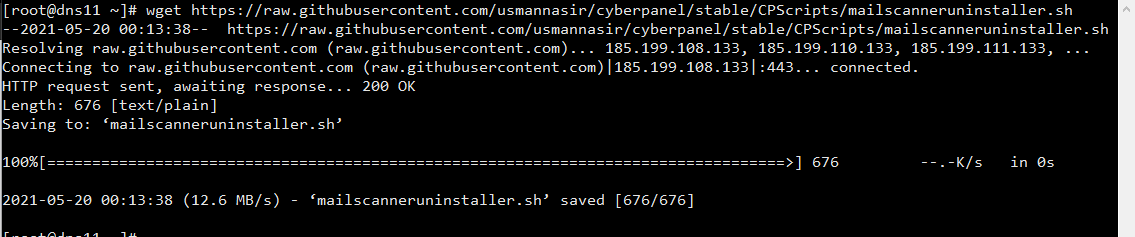
1. Download MailScanner uninstaller script form GitHub
Frist you need to download uninstaller form GitHub . Run this command on CLI it will download MailScanner uninstaller
How to install CyberPanel? I know everyone who came on this article will know that what is CyberPanel and want to know how to install CyberPanel. Some of you have basic knowledge and some are experts hehe.
But If you are totally new here then let me tell you that CyberPanel is a control panel. Basically, CyberPanel is a hosting control panel like the other the popular one c-panel.
Introduction of CyberPanel:
CyberPanel is a free and open-source next-generation hosting control panel. CyberPanel is Powered by LiteSpeed technologies. And mostly use by the LiteSpeed web servers. Basically CyberPanel is free but here is the twist. CyberPanel has two versions CyberPanel and CyberPanel Enterprise. There is not a huge difference between the CyberPanel and cyber panel Ent. CyberPanel Ent comes with LiteSpeed ent so that makes the difference. See here what the official web site of Cyberpanel said about CyberPanel ent.
Here in this article, I am going to tell you how to install CyberPanel on Centos. I will discuss about the installation on other Operating systems and flavors of Linux but in this, I will stay with centos.
Requirements for installation (Hardware and General requirements ):
CyberPanel requirements for installation are not so high and complicated. We discuss the main here:
A server or machine with Centos
Minimum 1 GB Ram
SHH access with root
10GB Disk Space.
How to install CyberPanel?
CyberPanel Installation is very easy and its just one command installation. When you search for how to install cyberpanel you will foun a bunch of commands and different steps. But i perfer only one command to install CyberPanel and that command is:
sh <(curl https://cyberpanel.net/install.sh || wget -O - https://cyberpanel.net/install.sh)
This will do have for you now you have to take care of some processes while installing CyberPanel. These are
Install Specific Version Of CyberPanel:
Now sometime you have to install a specific version of CyberPanel. This is a bit tricky. First of all, you have to wget (download) the specific branch of CyberPanel you want to install using this command: