ImunifyAV is not suitable for every server and maybe sometimes you need to uninstall ImunifyAV from your server to work properly.
In this short article, I will try to explain how to uninstall ImunifyAV from your server using few commands. So follow the process along with me to remove imunifyAV from your server.
Step 1:
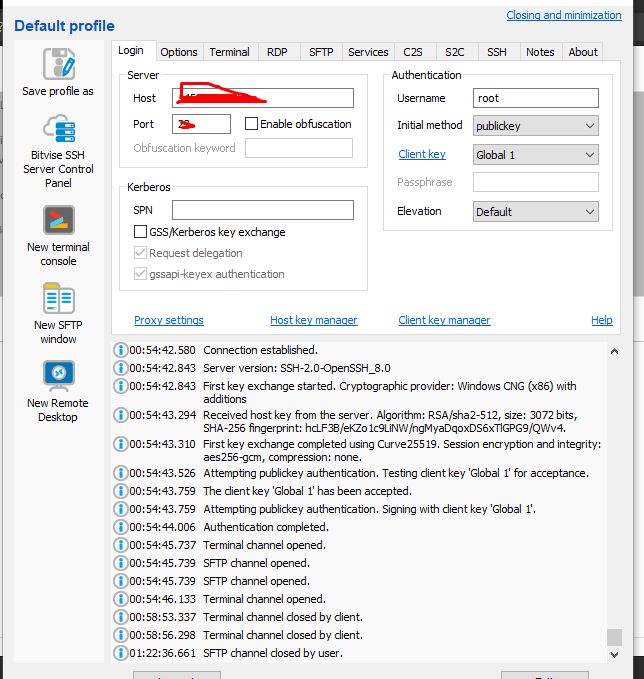
Access the SSH client as root of your server using credentials to your server. Like bitwise or Putty,
Step 2:
Stop the imunifyAV services using the command given below.
systemctl stop imunify-antivirus
Step 3:
Now download the imunifyAV script to uninstall the imunifyAV from your server. To download that scrip use the command.
How to force redirect HTTP to HTTPS website in CyberPanel?
In this article we will tell you how to force redirect HTTP to HTTPS website in CyberPanel?
What is HTTP?
HTTP stand foe Hypertext Transport Protocol. When you enter http:// in your address bar in front of domain, it tells the browser to connect over HTTP. HTTP use TCP(Transmission control protocol), generally over port 80, to send and receive data packets over ther web.
What is HTTPS?
HTTPS stands for Hypertext Transfer Protocol Secure (also referred to as HTTP over TLS or HTTP over SSL). When you enterhttps://in your address bar in front of the domain, it tells the browser to connect over HTTPS. Generally sites running over HTTPS will have a redirect in place so even if you type inhttp:// it will redirect to deliver over a secured connection. HTTPS also uses TCP (Transmission Control Protocol) to send and receive data packets, but it does so over port 443, within a connection encrypted by Transport Layer Security (TLS).
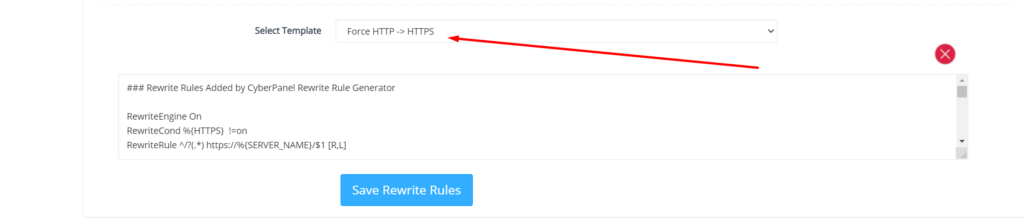
Redirect from HTTP to HTTPS
if you forcefully redirect your website HTTP to HTTPS in Cyberpanel, you will need to add a rewrite rule to that website in order to have it automatically forward to HTTPS instead of HTTP.
In CyberPanel you can forcefully redirect HTTP to HTTPS website using rewrite rules.
To add this:
Force redirect HTTP to HTTPS website in CyberPanel:
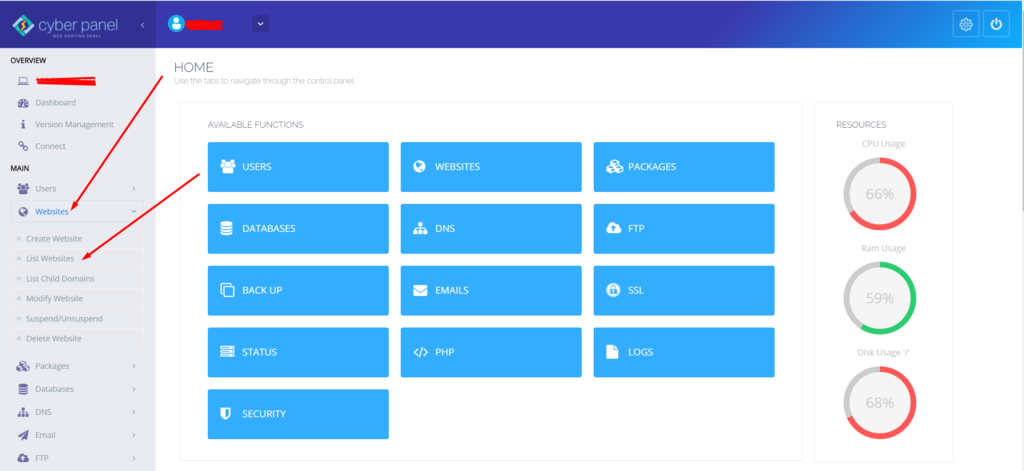
Select Websites on the left menu
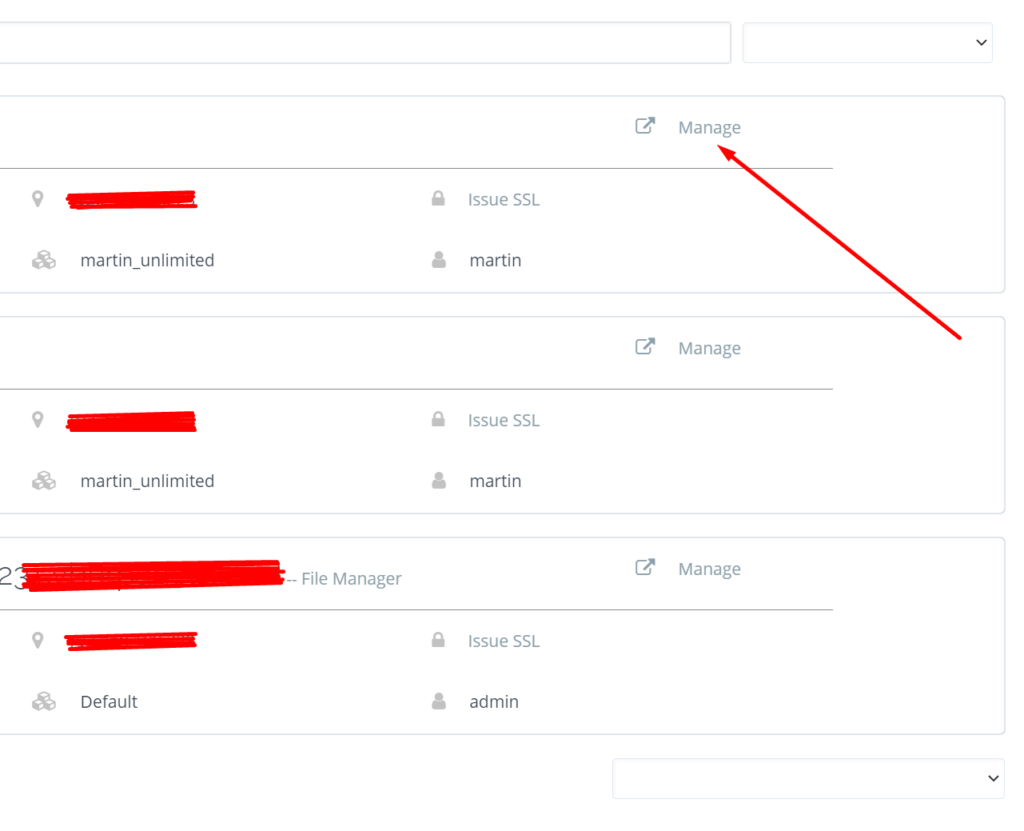
2. Choose the SSL enabled website from the list
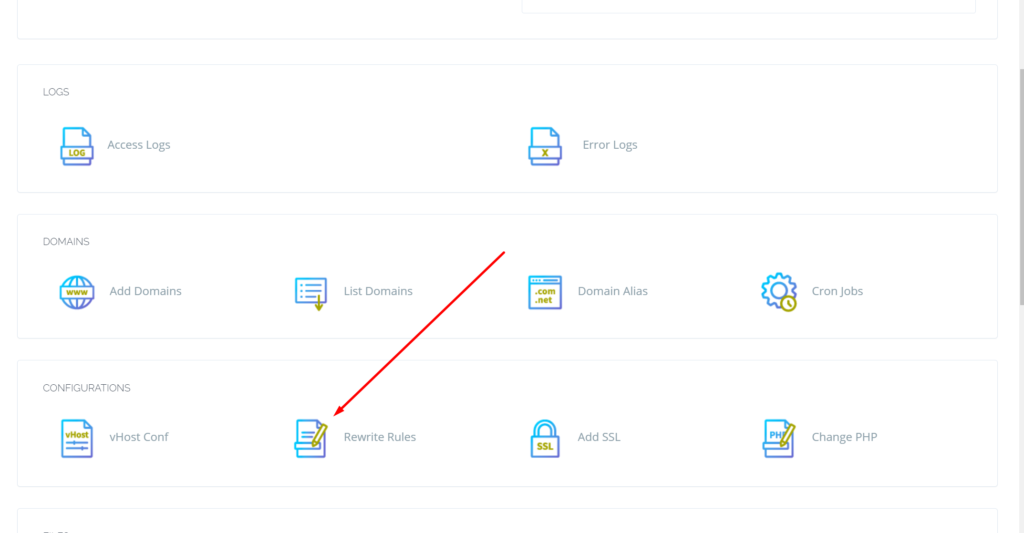
3. Select “Rewrite Rules” in the Configuration section
How to change Upload Limit on CyberPanel? Increase or decrease Upload Size through CyberPanel?
CyberPanel is a Webhosting control panel. If you want to upload a file of large size and you are unable to do so. So here I will tell you how to change the Maximum upload file size.
Sometimes you want to import a database of large size or you want to upload an image or file on your size of large size and then you receive an error that you cant upload a file more than 2M (2M is the default size for the post in CyberPanel).
Here I will tell you how you can increase the Max upload limit for post and file. You can also change different things like maximum execution time, max input time, etc.
Follow all the steps to change Upload Limit.
Login to your CyberPanel using your credentials.
2. Now go to the PHP->Edit PHP Configs
3. You can see the Basic and Advanced buttons here. Remain on Basic and Select your required PHP version from here.
4. Once you select the required version you can see the different option here
Here you can update the values for all fields according to your requirements. You can update values here Like Max uploads size, max execution time, Post size, etc.
After updating values you need to click the save button to save all changes .
In the last steps, you need to restart PHP in the latest version of CyberPanel they give the option of restart in the Panel. Below the configuration. But if you are on the old version you have to restart PHP.
Without restarting PHP the changes will never applied.
Do you want to catch-all emails in postfix? Does missing emails due to misspelling addresses bothered you? Then this article is for you.
A catch-all email account is used to get all emails sent from every email account of your domain. No matter that email account exists or someone misspelled that email. Catch-all is usually used when you do not want to lose any email due to the wrong email address or email that did not exist.
Here we discuss all steps that are needed to set up a catch-all email account in Postfix.
Follow along so you can easily setup and never miss any Email.
Create Catch All Account:
The first step is to create a catch-all account where you will receive all emails. Which are lost due to misspelling or non existing email?
To do so you have to add a virtual alias to the Postfix server. The path of file where you have to add the alias is /etc/postfix/virtual.
You have to edit this file in your favorite Editor I chose vi editor. Use this command to edit the file.
vi /etc/postfix/virtual
Now add the address for catch-all at the end of this file. Add the address like:
@yourdomain.com username
You can also specify any email account where you want to catch-all emails. You can specify different email account for this operation also. like:
If you didn’t specify the valid account then your valid account’s email will also go to that specific email you specify for catch-all. This account helps to Catch-all email that you miss due to non existing account or misspelled email addresses.
After adding these Alias to /etc/postfix/virtual save and exit.
After this we have to run a command to execute this file again.
postmap /etc/postfix/virtual
Now your updated file is loaded shift to next step.
Setup Postfix Configuration:
After editing the virtual file now its time to do some configurations in the postfix configuration file. In order to do this go to the file etc/postfix/main.cf. Edit this file in vi or any other editor you like. for vi use this command:
vi /etc/postfix/main.cf
you have to add virtual_alias_maps in this file add this line at the end of this main.cf file:
virtual_alias_maps = hash:/etc/postfix/virtual
Reload Postfix for new settings:
Now Postfix needs to reload so it can fetch the new settings. To reload postfix run the command: