Now CyberPanel Email Debugger is available inside CyberPanel dashboard as an adons. You can get that and use it to check and fix your email related issues. CyberPanel Email Debug feature is a feature that allows you to check each and everything related to email and then it will also help you to fix all things related to email.
What is CyberPanel Email Debugger and how it works?
CyberPanel Debugger is a paid adon by CyberPanel team that allows you to check your email setting and it also allows you one click fix for email. it will allow you to check and fix at two levels.
1- Server Wide Level Check and fix:
In server level you can check the status and issues at server level and then run the fixes at server level.
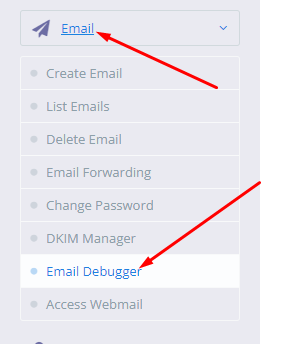
To run server level checks just go to the EMAIl -> EMAIL DEBUGGER from the left menu of your Cyberpanel dashboard.
CyberPanel Email Debugger
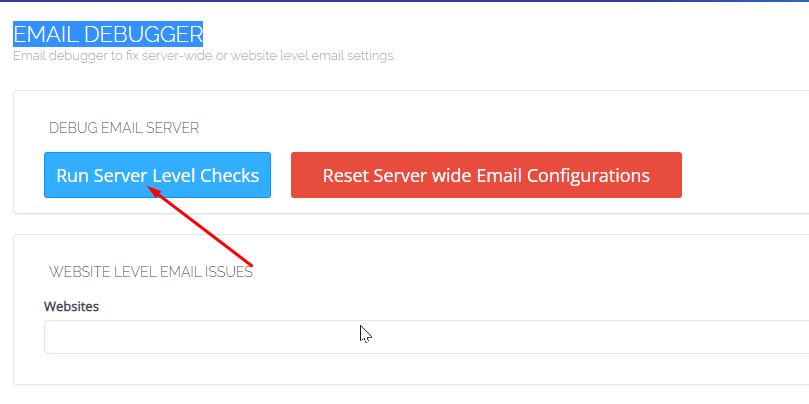
Once you are on this screen you can see a red button of Run Server level Checks.
Once you click this button all the email server related things will be visible for you on this page. If there is any issue that will be reported so you can fix.
If you found any issue in Email debugger you can reset or fix that manually.
To reset server wide email configurations just go to the EMAIl -> EMAIL DEBUGGER from the left menu of your CyberPanel dashboard.
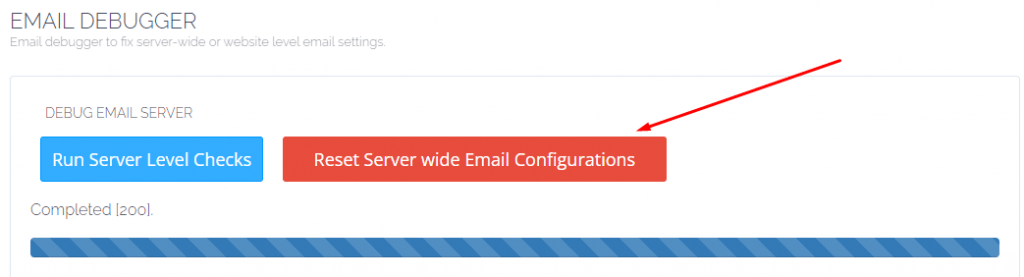
And after this you can see a button that is Reset Server Wide Configurations click that button and wait for the completion of the proccess. This will take some time to complete and once it done you can check the settings again.
2- Website Level Check and fix:
CyberPanel also offer site level email fixes as well like you don’t want to do the full reset of email configuration’s then you can just check if only one site is creating issue and not any other site then you can just reset and check site level settings.
To do so just go to EMAIl -> EMAIL DEBUGGER from the left menu of your dashboard.
CyberPanel Email Debugger
Now below on this page go to the Website Level Email Issues.
Website Level Email Issues
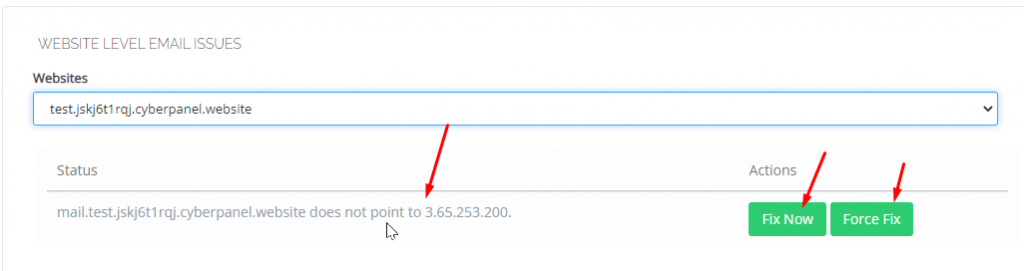
Now here on this page just select the site for which you want to check the email settings and then see its status.
issue will be visible for you and if you want to fix issue you can do Fix Now or Force Fix.
Email debugger is a one click email issues fix so if you are facing any trouble with it just follow the guide after getting the adons from CyberPanel and its price is also very reasonable its about 7.99$ for all adons on CyberPanel.
If you dont know how to create email and use then click here.
How to Access Rainloop Webmail in CyberPanel?
A lot of CyberPanel user uses Rainloop to handle their email. Rainloop is an internal email solution with CyberPanel. Here in this article, we will discuss how you can access Rainloop webmail in CyberPanel?
Rainloop is an efficient memory webmail solution. it is a fast, simple, and modern web-based client email client. Rainloop is the email solution that comes with CyberPanel. It has an amazing user interface. Not only the interface also works great as any other email services.
This article is specifically about access rain loop webmail in CyberPanel.
Follow these steps Access Rainloop Webmail in CyberPanel:
Login you CyberPanel:
First of all, you need to log in to the CyberPanel dashboard. For this, you must have a username and password (admin or non-admin). Visit your the server IP or hostname with port 8090 to login to cyberpanel.
https://<ip/hostname>:8090
CyberPanel Login
2. Create and Email to Login:
Here you can read How to create email account. After creating mail keep these records so you can use to login.
3. Access WebMail:
To access webmail simple go to the Email->Access WebMail. you will be redirected to the link:
if you want to change Language, Layout, Default Text Editor, Message on Page, Notifications, etc settings. Login into rainloop admin dashboard and change there.
Sometimes we need to log in to the rainloop dashboard to do some configurations. Here in this article, we will tell you how to log in to rainloop admin dashboard?
Rainloop is an efficient memory webmail solution. it is a fast, simple, and modern web-based client email client. Rainloop is the email solution that comes with CyberPanel. It has an amazing user interface. Not only the interface also works great as any other email service.
RainLoop Admin Dashboard access address:
To access rainloop dashboard you just need to go to.
How to create and access email account on CyberPanel?
In this article i am going to explain a simple way to create email account on CyberPanel and access your email on CyberPanel.
So basically here we only discuss how to create and access email on CyberPanel. We do not going in to any other details like setup the whole procedure.
This article has following steps:
Create New Email account on CyberPanel
Access through rainloop desk
Change password for email
This guide is for basic user so if you are an expert you can comment if we miss any thing in article.
Create New Email account on CyberPanel:
To create a new email account in CyberPanel log into your CyberPanel account using credentials.
Visit this your CyberPanel URL looks like:
https://<server ip>:8090
CyberPanel
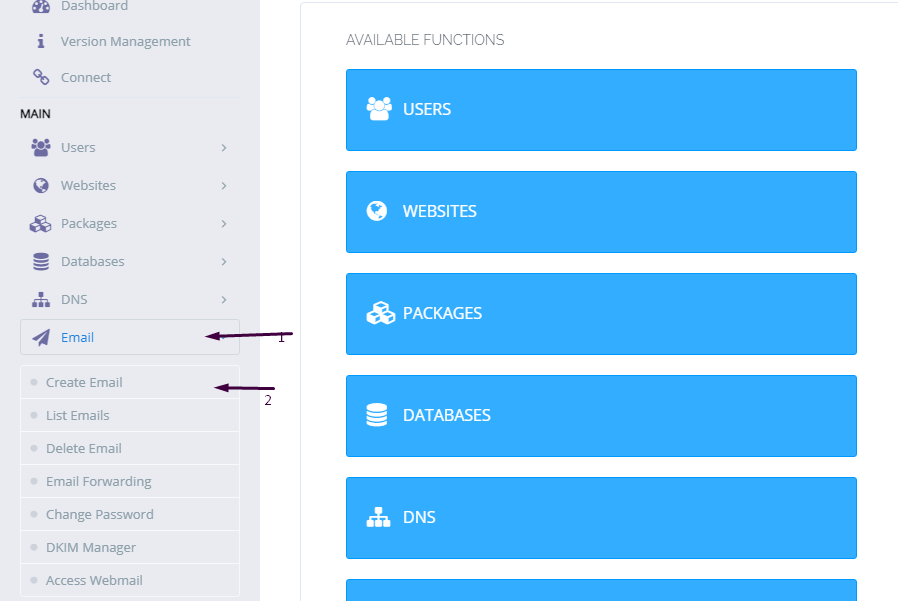
Now go to the EMAIL-> CREATE NEW EMAIL option in side menu.
EMAIL-> CREATE NEW EMAIL
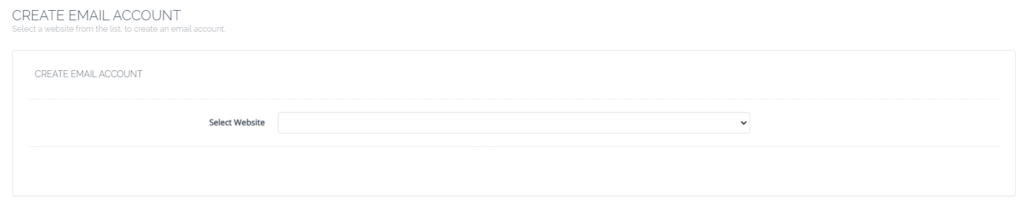
On the Create new email screen you need to select the Website for which you want to create email account.
select the Website
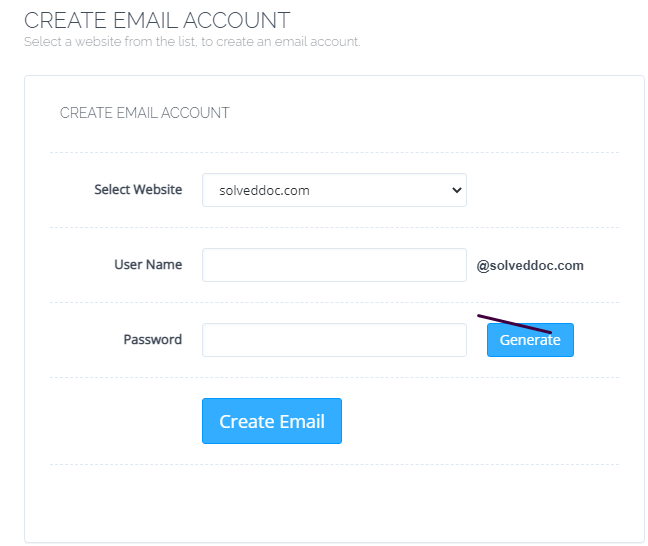
Now add the required details. like:
User Name
Password (better to generate random password from button)
Provide Information
Provide details and Press Create Email button you can see the massage.
Email with id : test@solveddoc.com is successfully created.
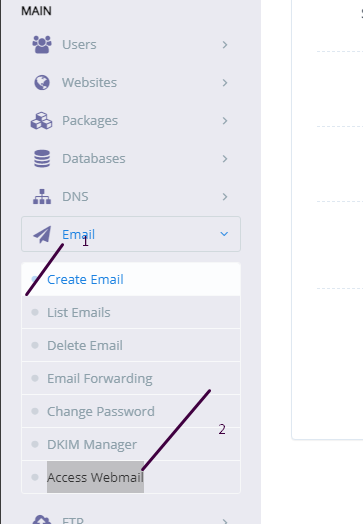
Access through rainloop desk:
To access your email account you need to got to the:
Email-> Access Webmail
Access Webmail
When you click on Access webmail it will navigate you to the:
https://<server ip>:8090/rainloop/index.php
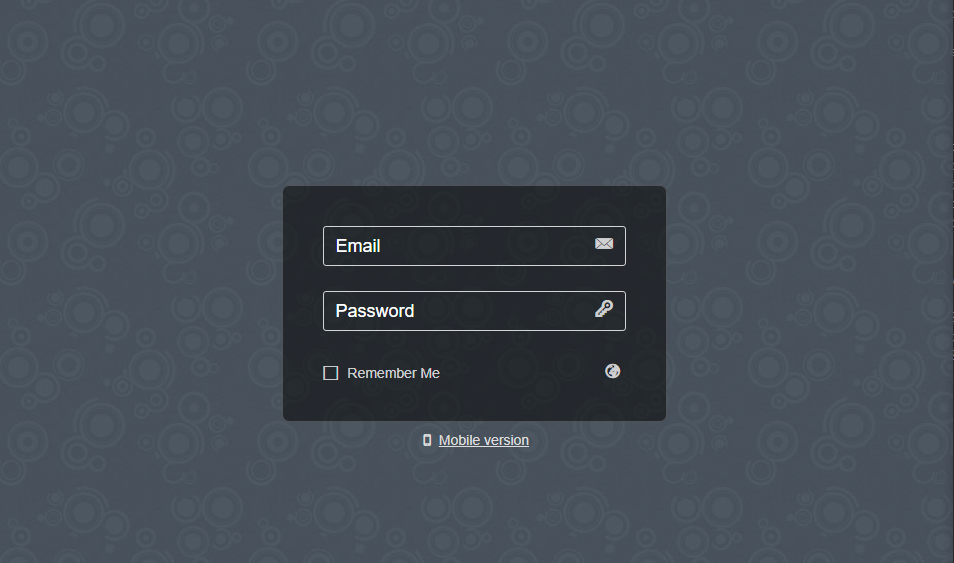
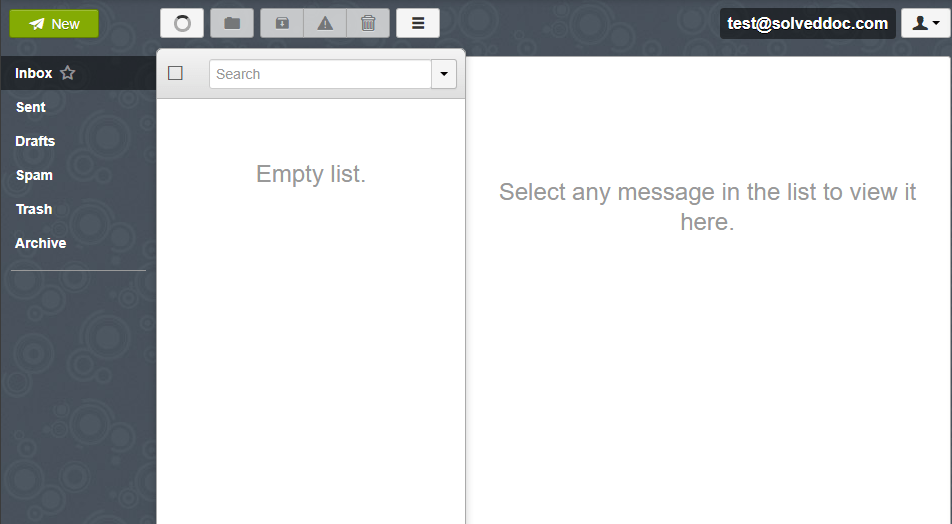
Here you can see this screen.
RainLoop
Provide the required details and get login. Here is the dashboard you see once login.
RainLoop DashBoard
This is a tutorial to create and login not the whole setup is included in it.
Change password for email:
If you want to change the password of any existing mail this is very easy using CyberPanel.
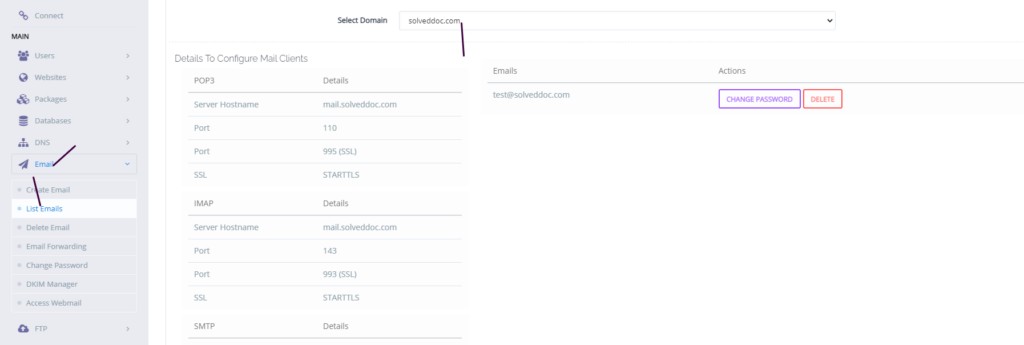
Go to the EMAIL->LIST EMAIL select the website for which the email password you want to change.
Email Password
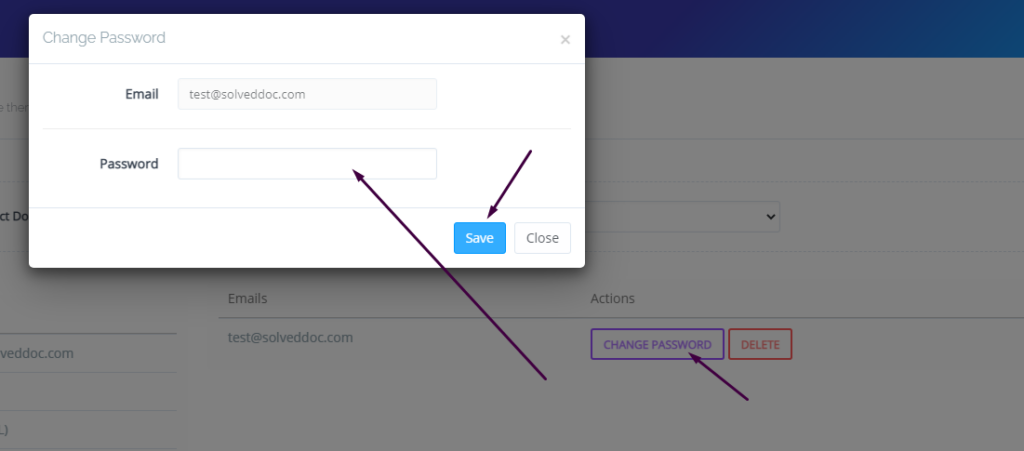
You can see the change password button IN front of the the mail press that. When you press a prompt appears and ask for new password provide new password and click save.
New Password
This is a basic tutorial for email creation and access. Please leave your comment below if we need to change any thing in this article.
Do you want to catch-all emails in postfix? Does missing emails due to misspelling addresses bothered you? Then this article is for you.
A catch-all email account is used to get all emails sent from every email account of your domain. No matter that email account exists or someone misspelled that email. Catch-all is usually used when you do not want to lose any email due to the wrong email address or email that did not exist.
Here we discuss all steps that are needed to set up a catch-all email account in Postfix.
Follow along so you can easily setup and never miss any Email.
Create Catch All Account:
The first step is to create a catch-all account where you will receive all emails. Which are lost due to misspelling or non existing email?
To do so you have to add a virtual alias to the Postfix server. The path of file where you have to add the alias is /etc/postfix/virtual.
You have to edit this file in your favorite Editor I chose vi editor. Use this command to edit the file.
vi /etc/postfix/virtual
Now add the address for catch-all at the end of this file. Add the address like:
@yourdomain.com username
You can also specify any email account where you want to catch-all emails. You can specify different email account for this operation also. like:
If you didn’t specify the valid account then your valid account’s email will also go to that specific email you specify for catch-all. This account helps to Catch-all email that you miss due to non existing account or misspelled email addresses.
After adding these Alias to /etc/postfix/virtual save and exit.
After this we have to run a command to execute this file again.
postmap /etc/postfix/virtual
Now your updated file is loaded shift to next step.
Setup Postfix Configuration:
After editing the virtual file now its time to do some configurations in the postfix configuration file. In order to do this go to the file etc/postfix/main.cf. Edit this file in vi or any other editor you like. for vi use this command:
vi /etc/postfix/main.cf
you have to add virtual_alias_maps in this file add this line at the end of this main.cf file:
virtual_alias_maps = hash:/etc/postfix/virtual
Reload Postfix for new settings:
Now Postfix needs to reload so it can fetch the new settings. To reload postfix run the command: