Warning: Redis::get(): php_network_getaddresses: getaddrinfo for localhost failed: Name or service not known in /home/solveddoc.com/public_html/wp-content/plugins/litespeed-cache/src/object-cache.cls.php on line 674 domain Archives - Page 2 of 2 - Solveddoc
How to add Subdomain in CyberPanel?
The process to add Child domain or subdomain in CyberPanel is very easy and short. Here i will tell you how to add subdomain in CyberPanel under any main domain or website.
How to Create Child Domain under main website?
To create child domain for a main or master domain you just need to go to.
Websites->List Websites->Manage
Manage of that website for which you want to create the subdomain.
Websites->List Websites->Manage
And click the Manage button you can also follow this URL:
https://<YOUR IP>:8090/websites/example.com
When you click the manage button you can see the website manager screen. This screen has a a lot of option. Like LOGS, DOMIANS, FILES, CONFIGRATIONS, ETC.
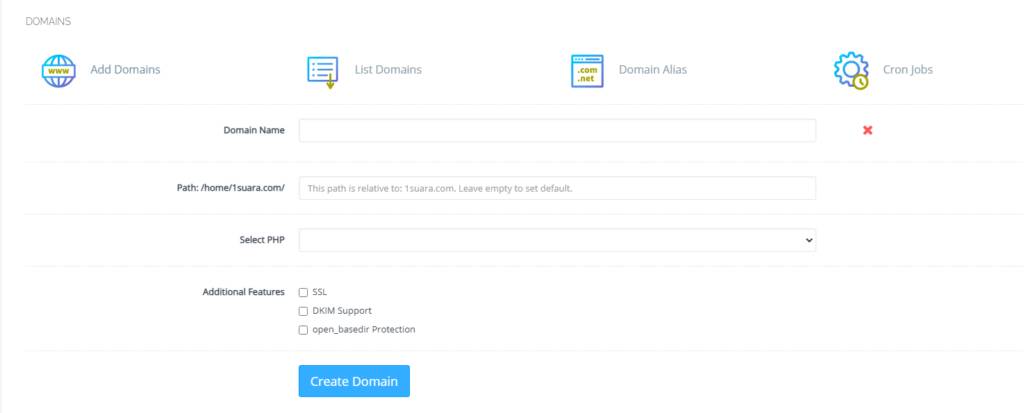
Got to the Domains part and click the Add Domains button.
Add Domains
When you click on this option you are asked to provide the details for the subdomain you want to add.
Details for the subdomain you want to add
After providing the details like:
Domain name
Path (Leave it empty)
Select PHP version
In additional features (Select SSL, DKIM, Open_basedir Protection)
Click the Create Domain button and you will receive a success massage from the panel.
Create Domain
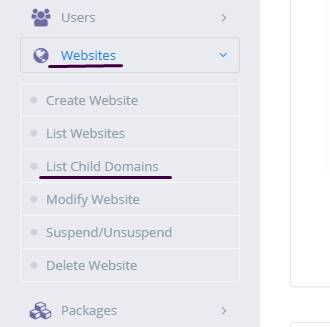
Once child domain is created from here. Now you can list child domain from two ways.
Go to website-> List child Domain
website-> List child Domain
2. From the Websites-> List Websites -> Manage-> List Domains
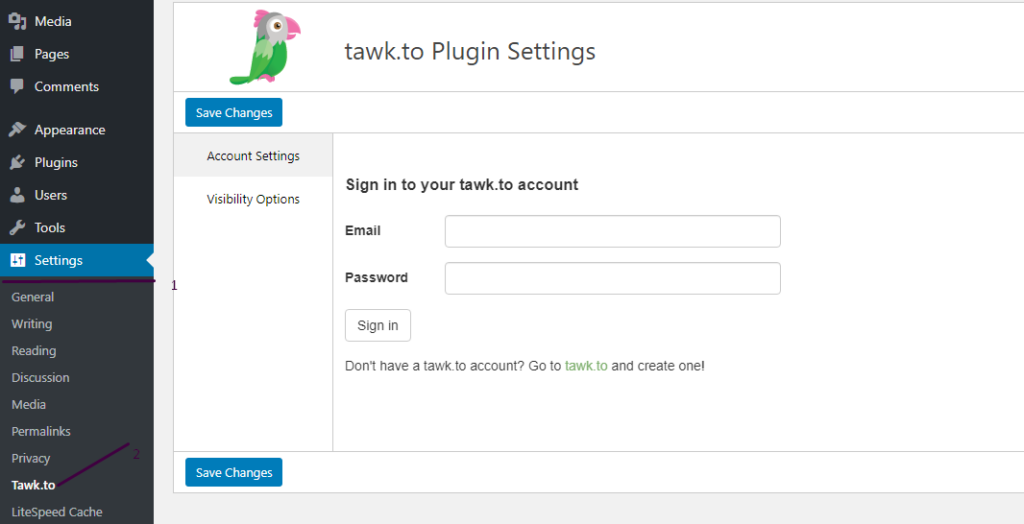
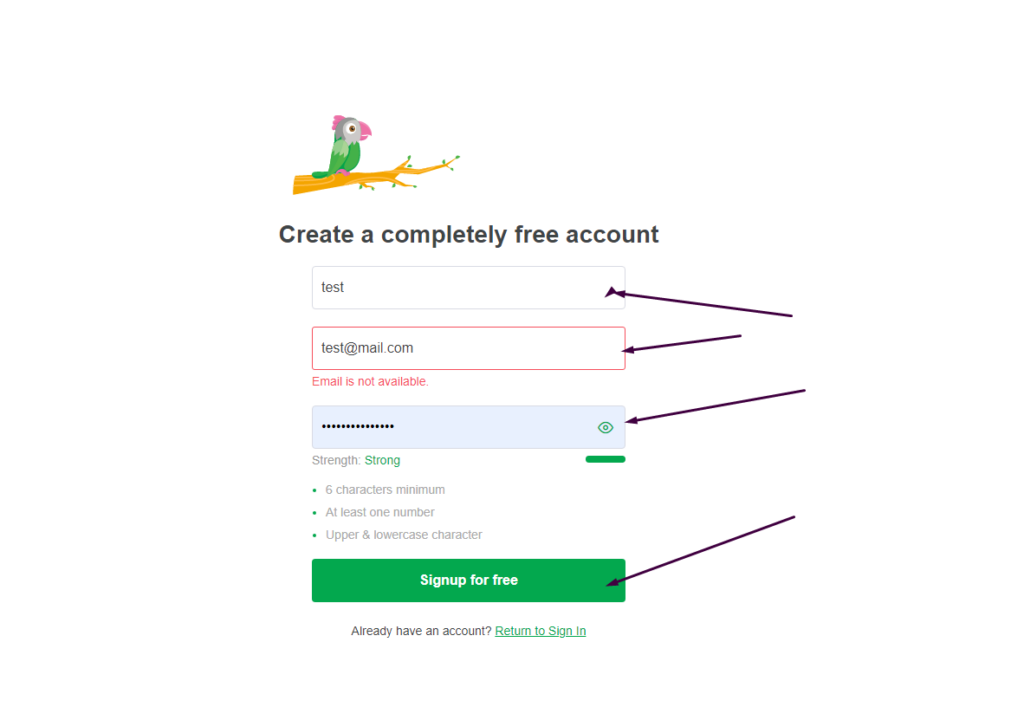
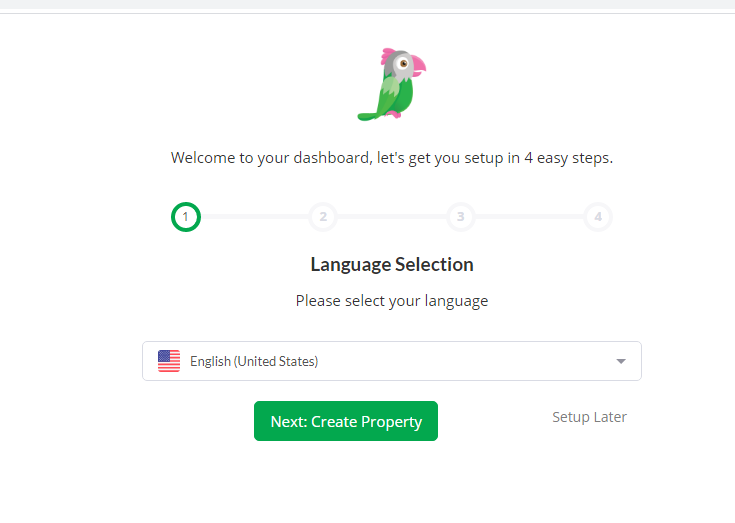
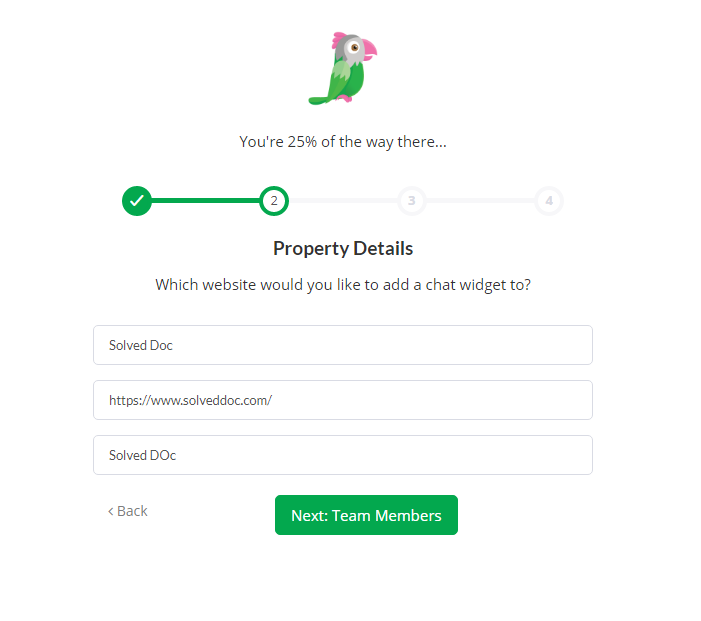
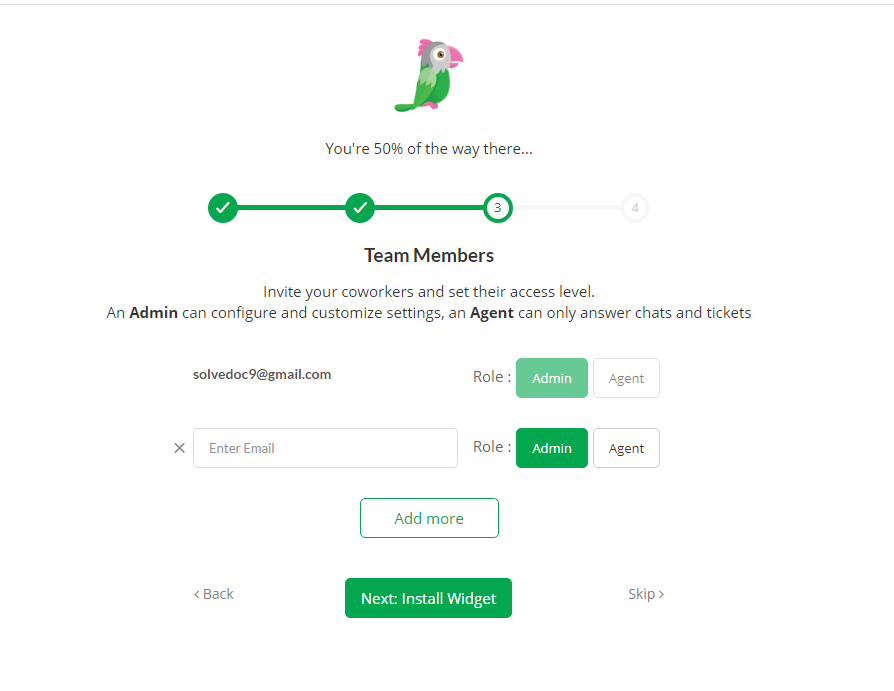
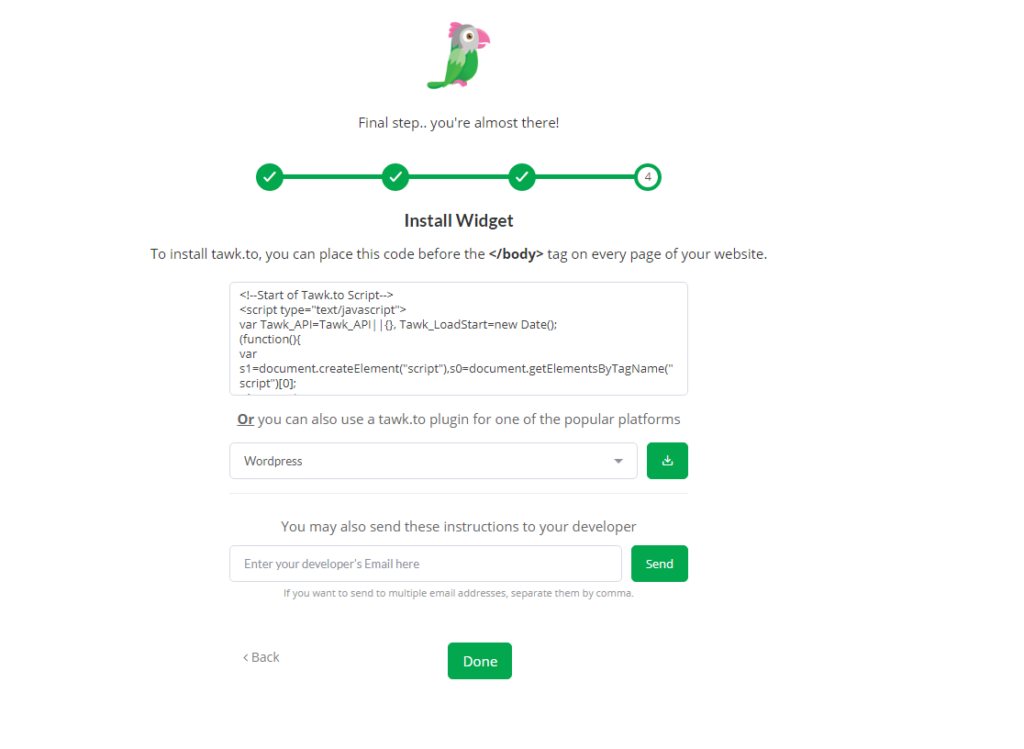
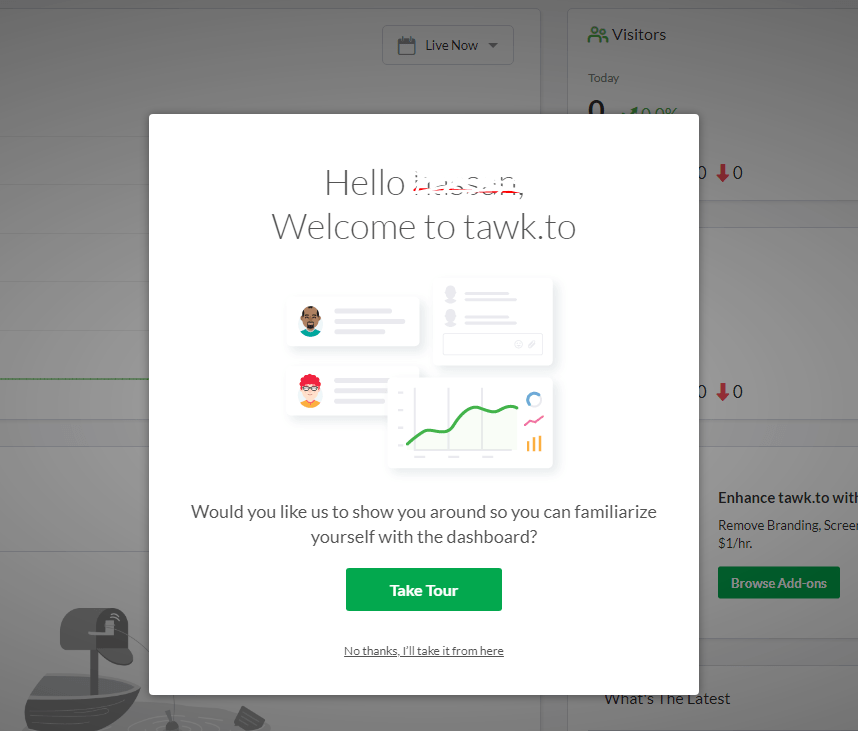
How to add live chat on WordPress Website – Integrate Tawk.To Live Chat to WordPress
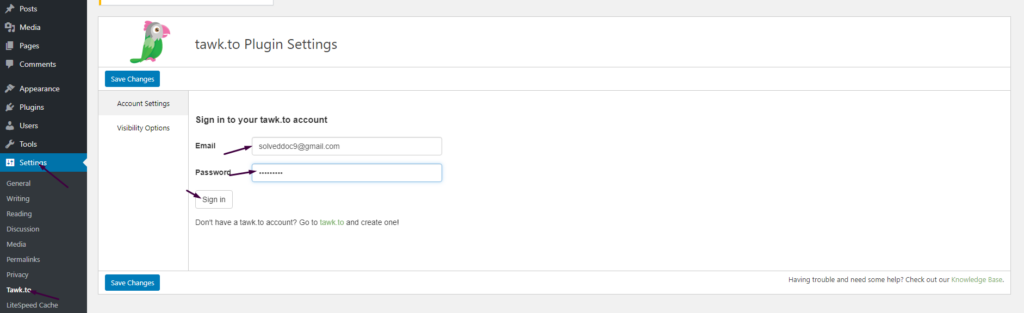
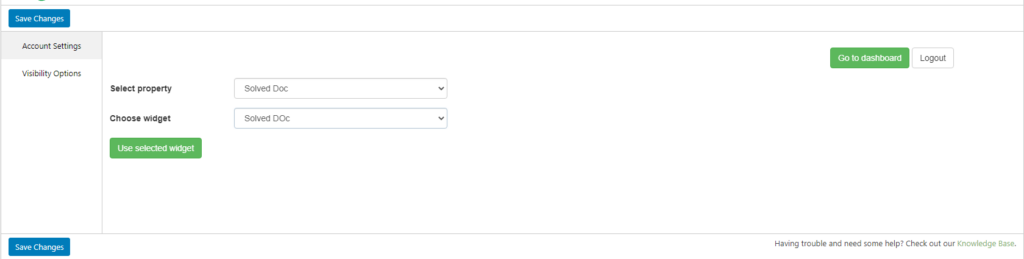
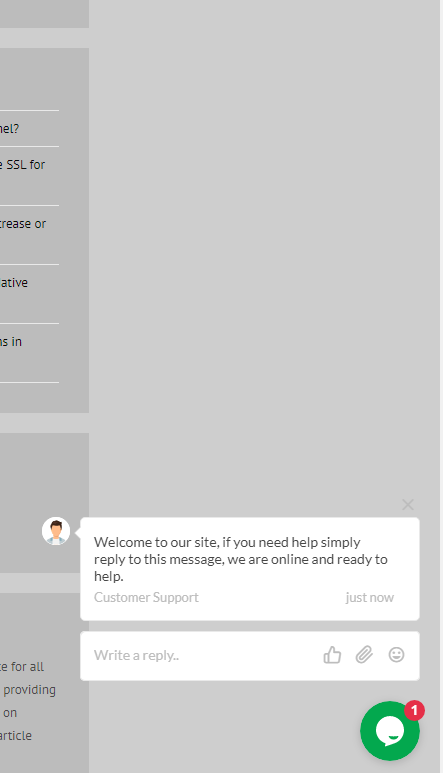
In this Article I am going to share my personal experience that how i added the Twak.to Live Chat in my WordPress Site. After reading you come to know how to add live chat on WordPress Website.
This tutorial is basically my personal experience that how I integrate live chat on my WordPress Website. So without wasting time lets start tutorial.
How to create, delete and manage Child Domains in CyberPanel?
You can easily create, List and delete child domains in CyberPanel.
Here I tell you how to create a Subdomain or child domain in CyberPanel and how to delete a child domain from CyberPanel. You can easily manage your subdomains or child domains using cyberpanel.
From CyberPanel you can perform many things for your child domain like create, List, Delete, Issue SSL, Change PHP version, install application, create ftp account, and many more.
How to create a child domain in CyberPanel?
There are two methods to create a subdomain in CyberPanel. But here i will discuss the one which is specific for the child domain creation. The other method is same as the normal domain creation.
Follow these steps to create a sub domain in CyberPanel.
1: Login to your CyberPanel and go to Websites->List Website-> Manage. You can also navigate to this link
https://<Your_IP>:8090/websites/yourdomain.com
2: Now go to the DOMAINS section here and Press Add Domains.
3: Now provide all information here and press Create domain button
you can see the progress and a short time it will show you the completion massage.
How to Delete a child domain in CyberPanel?
In first part we are able to know how to create a child or subdomain in cyberpanel. Sometime we need to delete subdomain. So in this part we will discuss this.
1: Login to your CyberPanel and go to Websites->List Website-> Manage. You can also navigate to this link
2: Now go to the DOMAINS section here and Press List Domains. You can see the Subdomains in front of that you can see the Delete button press that to delete the subdomain.
it will take sometime and after that you can it disappears from here.
How to manage Subdomain SSL of in CyberPanel?
You can issue SSL to any subdomain in cyberpanel using two ways.
Issue SSL from child domain option:
This one is quick and easy way to issue SSL for any subdomain.
Just go to Websites->List Child Domains -> issue ssl
Issue SSL from parent website manage panel:
You can also manage the SSL for any subdomain by using this method.
1: Login to your CyberPanel and go to Websites->List Website-> Manage. You can also navigate to this link
2: Now go to the DOMAINS section here and Press List Domains. You can see the Subdomains in front of that you can see the SSL button press that.
Change PHP version for child domain, Check logs, Install applications and other features:
You can also manage a lot of features for subdomains using cyberpanel. Just need to follow this Websites-> List Child Domains->Manage:
Here you can manage a lot of features like you can change PHP version for your subdomain, you can install WordPress, you can create ftp account for subdomain and many more.
You can also use this path to manage these features: