Warning: Redis::get(): php_network_getaddresses: getaddrinfo for localhost failed: Name or service not known in /home/solveddoc.com/public_html/wp-content/plugins/litespeed-cache/src/object-cache.cls.php on line 674 Installation Archives - Solveddoc
How to uninstall ImunifyAV from your server?
ImunifyAV is not suitable for every server and maybe sometimes you need to uninstall ImunifyAV from your server to work properly.
In this short article, I will try to explain how to uninstall ImunifyAV from your server using few commands. So follow the process along with me to remove imunifyAV from your server.
Step 1:
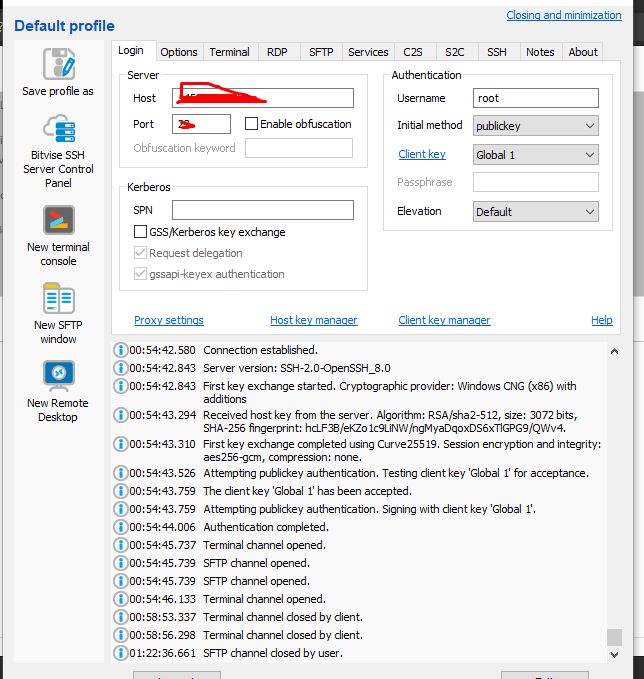
Access the SSH client as root of your server using credentials to your server. Like bitwise or Putty,
Step 2:
Stop the imunifyAV services using the command given below.
systemctl stop imunify-antivirus
Step 3:
Now download the imunifyAV script to uninstall the imunifyAV from your server. To download that scrip use the command.
How to change time zone on Linux server using command line?
In this article, we will know How to change time zone on a Linux server using command line. This is a very easy and a few steps process so follow along to change your time zone according to your need.
The Time zone is the standard time for any specific region. The server time zone is a basic and one of the important things. Server time zone set while installing and setup server. Sometimes we need to change our server time zone according to our requirements. There are many ways but here we will go through command line one. This is one of the easy ways while using Linux.
How to check Current TimeZone of your server?
Before changing your server time zone first of all you must know what is the current time zone of your server to do so you just need to run a very simple command. This command is available in all Linux flavors.
open terminal and run:
$ timedatectl
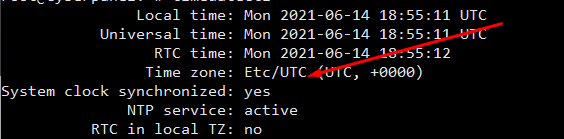
How to check Current TimeZone of your server?
You can see your current time zone of your server.
2. Set / Change Time zone on Linux Server Using Command line:
Before changing your time zone first of all you must have to know about the time zone you want to set. Like if you want to set somewhere in Asia. you must have to know about your region and cit. Now, how you can do it.
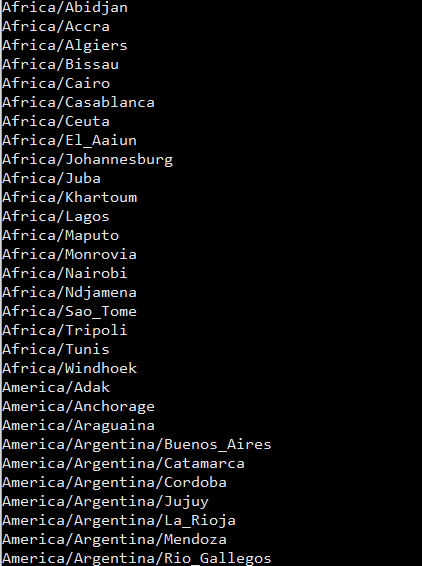
For this there is a command to list all time zones:
$ timedatectl list-timezones
List all time zones
Select your required time zone from the list and add it to this cmd.
timedatectl set-timezone “you time zone”
Make sure that you are login from root account if not use sudo with this.
$ sudo timedatectl set-timezone <your specific time zone>
set time zone
After running this run the timedatctl again and verify if time zone updated or not.
$ timedatectl
Now you can see time zone that you set using above methode.
NOTE: Time zone is one of the core important things many features and services depend upon it so before doing anything make sure that you understood all. moreover, you just need a reboot to apply a new time zone on all servers.
A lot of CyberPanel user uses Rainloop to handle their email. Rainloop is an internal email solution with CyberPanel. Here in this article, we will discuss how you can access Rainloop webmail in CyberPanel?
Rainloop is an efficient memory webmail solution. it is a fast, simple, and modern web-based client email client. Rainloop is the email solution that comes with CyberPanel. It has an amazing user interface. Not only the interface also works great as any other email services.
This article is specifically about access rain loop webmail in CyberPanel.
Follow these steps Access Rainloop Webmail in CyberPanel:
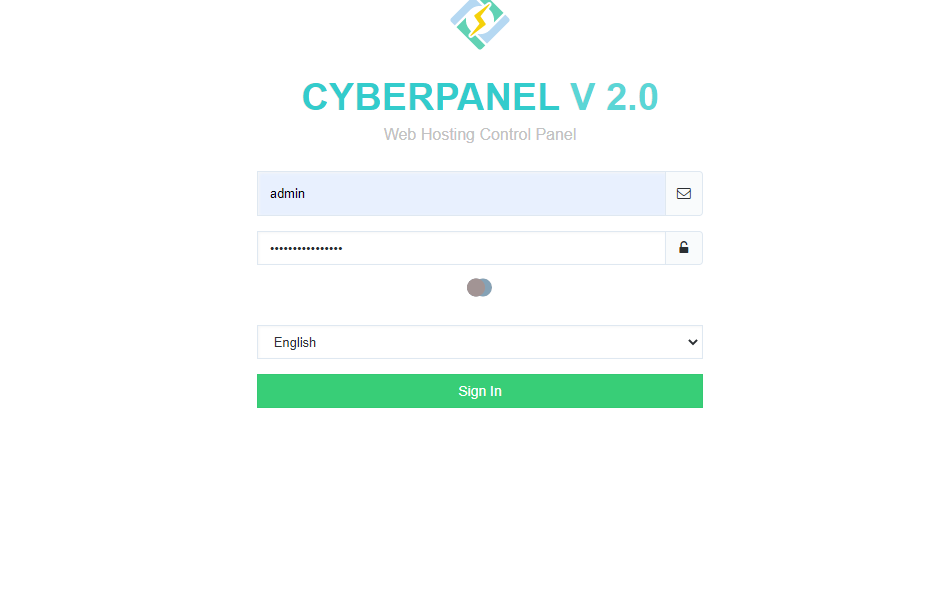
Login you CyberPanel:
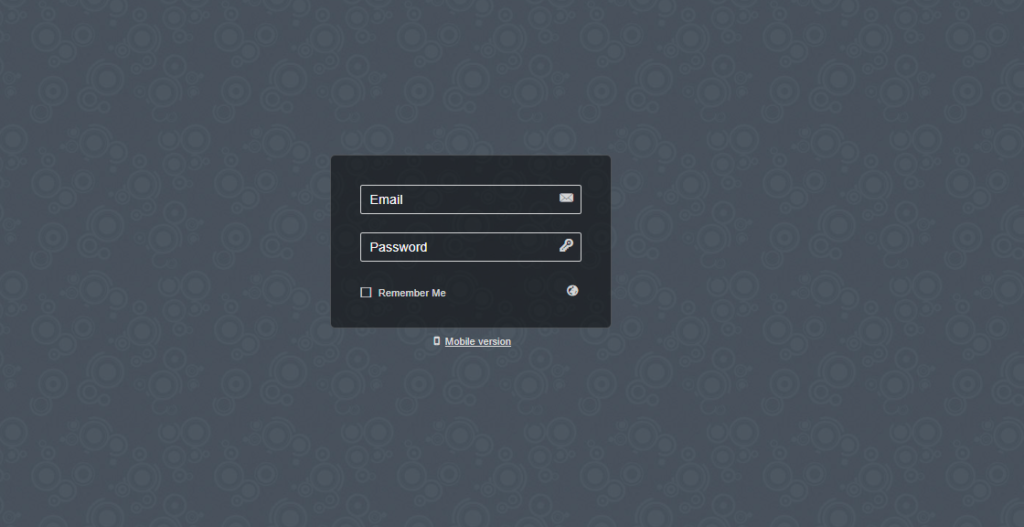
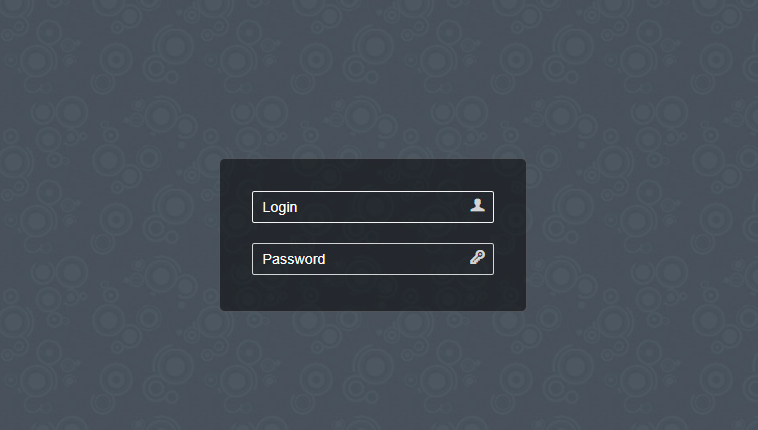
First of all, you need to log in to the CyberPanel dashboard. For this, you must have a username and password (admin or non-admin). Visit your the server IP or hostname with port 8090 to login to cyberpanel.
https://<ip/hostname>:8090
CyberPanel Login
2. Create and Email to Login:
Here you can read How to create email account. After creating mail keep these records so you can use to login.
3. Access WebMail:
To access webmail simple go to the Email->Access WebMail. you will be redirected to the link:
if you want to change Language, Layout, Default Text Editor, Message on Page, Notifications, etc settings. Login into rainloop admin dashboard and change there.
Sometimes we need to log in to the rainloop dashboard to do some configurations. Here in this article, we will tell you how to log in to rainloop admin dashboard?
Rainloop is an efficient memory webmail solution. it is a fast, simple, and modern web-based client email client. Rainloop is the email solution that comes with CyberPanel. It has an amazing user interface. Not only the interface also works great as any other email service.
RainLoop Admin Dashboard access address:
To access rainloop dashboard you just need to go to.
How to force redirect HTTP to HTTPS website in CyberPanel?
In this article we will tell you how to force redirect HTTP to HTTPS website in CyberPanel?
What is HTTP?
HTTP stand foe Hypertext Transport Protocol. When you enter http:// in your address bar in front of domain, it tells the browser to connect over HTTP. HTTP use TCP(Transmission control protocol), generally over port 80, to send and receive data packets over ther web.
What is HTTPS?
HTTPS stands for Hypertext Transfer Protocol Secure (also referred to as HTTP over TLS or HTTP over SSL). When you enterhttps://in your address bar in front of the domain, it tells the browser to connect over HTTPS. Generally sites running over HTTPS will have a redirect in place so even if you type inhttp:// it will redirect to deliver over a secured connection. HTTPS also uses TCP (Transmission Control Protocol) to send and receive data packets, but it does so over port 443, within a connection encrypted by Transport Layer Security (TLS).
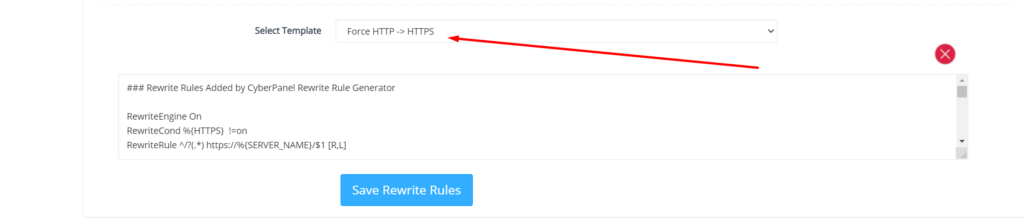
Redirect from HTTP to HTTPS
if you forcefully redirect your website HTTP to HTTPS in Cyberpanel, you will need to add a rewrite rule to that website in order to have it automatically forward to HTTPS instead of HTTP.
In CyberPanel you can forcefully redirect HTTP to HTTPS website using rewrite rules.
To add this:
Force redirect HTTP to HTTPS website in CyberPanel:
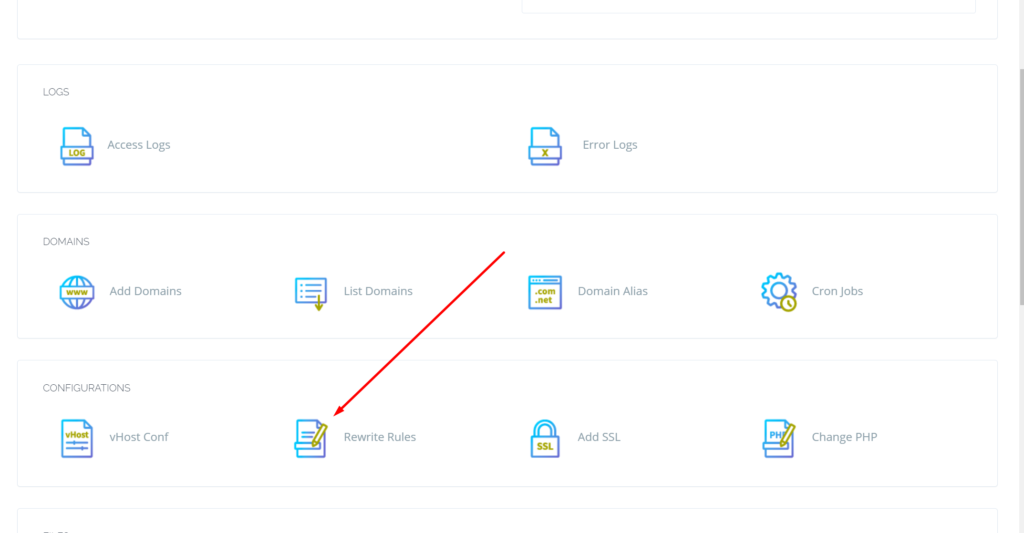
Select Websites on the left menu
2. Choose the SSL enabled website from the list
3. Select “Rewrite Rules” in the Configuration section
How to add ZeroSSL on your site? Free SSL for your website
You always need a secure URL for your website. Secure means your website will be accessible with SSL(Secure Sockets Layer). It’s very important to access your site on HTTPS instant of HTTP. Today I will tell you how you can add ZeroSSL to your website. ZeroSSL is totally free for your website.
ZeroSSL allows the free start of three domains. You can add free-of-cost SSL to your first three sites after those you have to buy if you want to issue SSL for more sites.
Create ZeroSSL account:
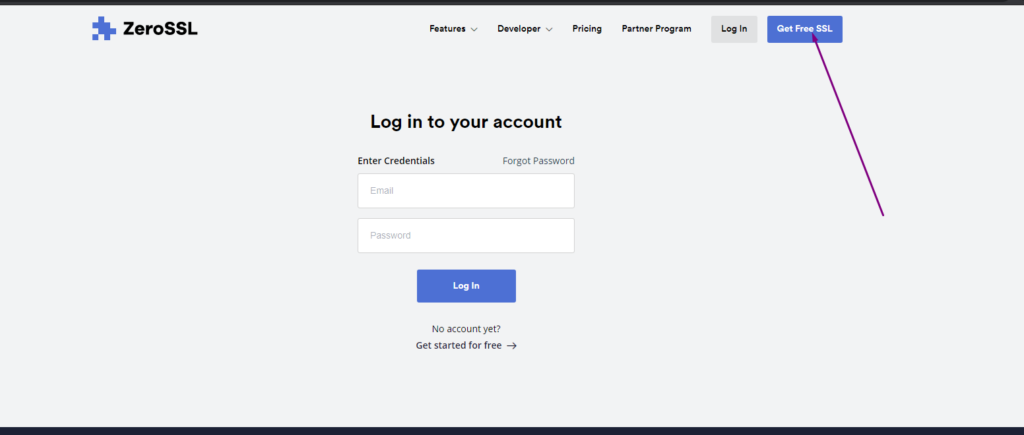
In first step you have to create an account on ZeroSSL website. For this go Here.
Here on this page you can see the Get Free SSL button click on that and visit to registration button.
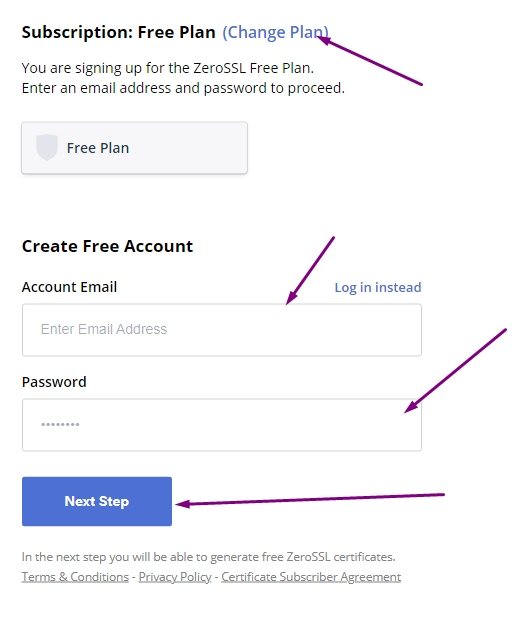
On this page you have to provide some information to signup.
Subscription Plan
Email Account
Password
After providing these all press to the Next Step button.
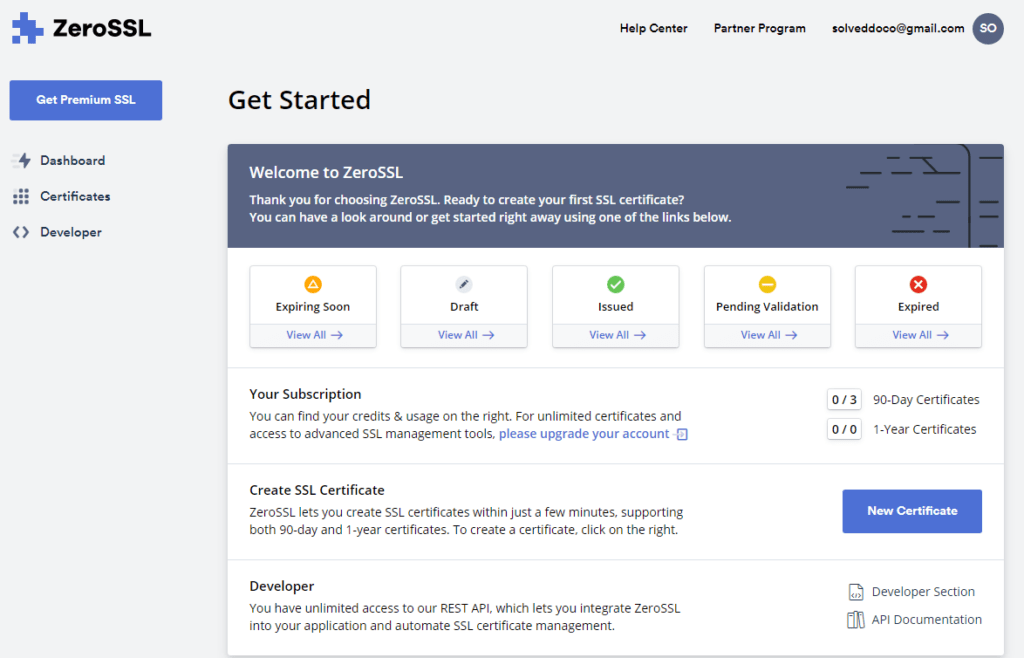
Once you press this button you can see the ZeroSSL dashboard.
Create New SSL Certificate:
Here on Dashboard you can see New Certificate button press this button present in the above image.
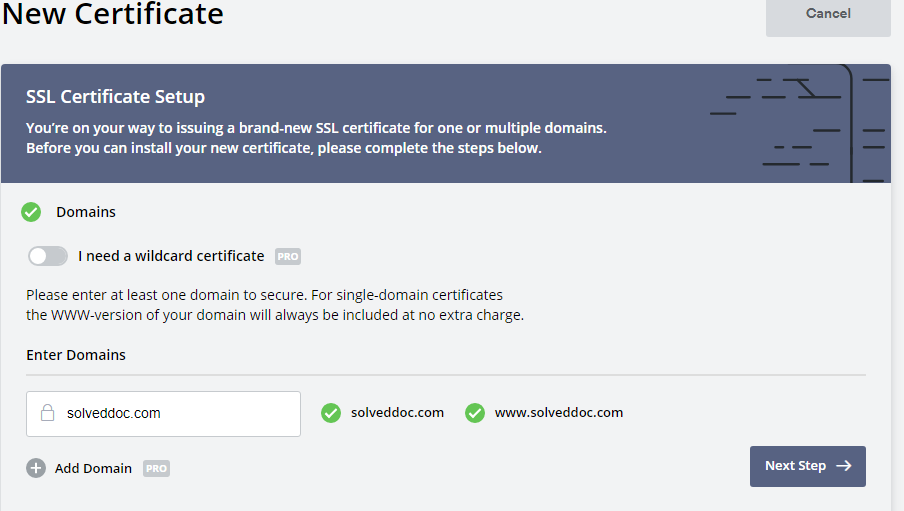
On the next page you have to provide following information:
Enter Domain (Enter your domain name for which you want to issue SSL)
You will see this Green ticks for a valid domain name.
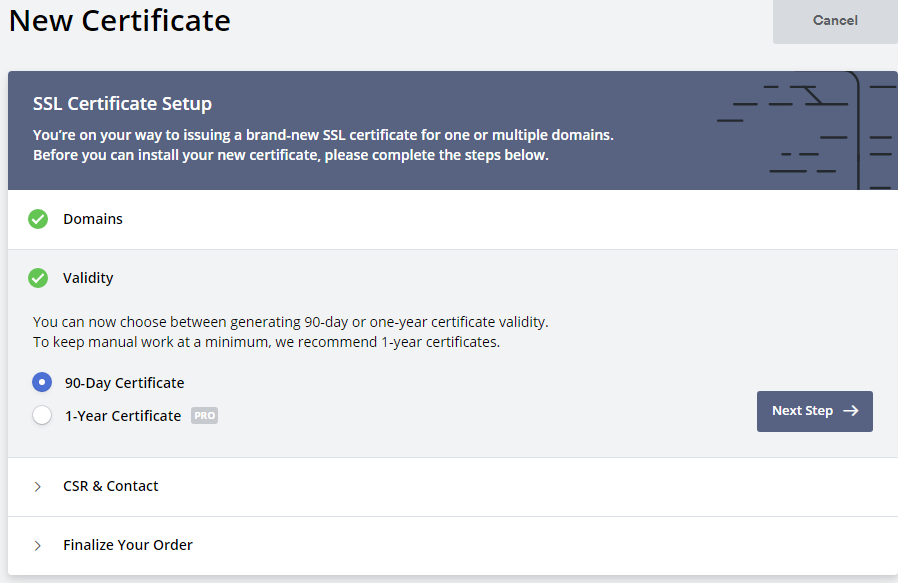
2. Validity (For how many time this ssl is valid )
Usually for 90 days its free and if you want for 1 year you have to buy.
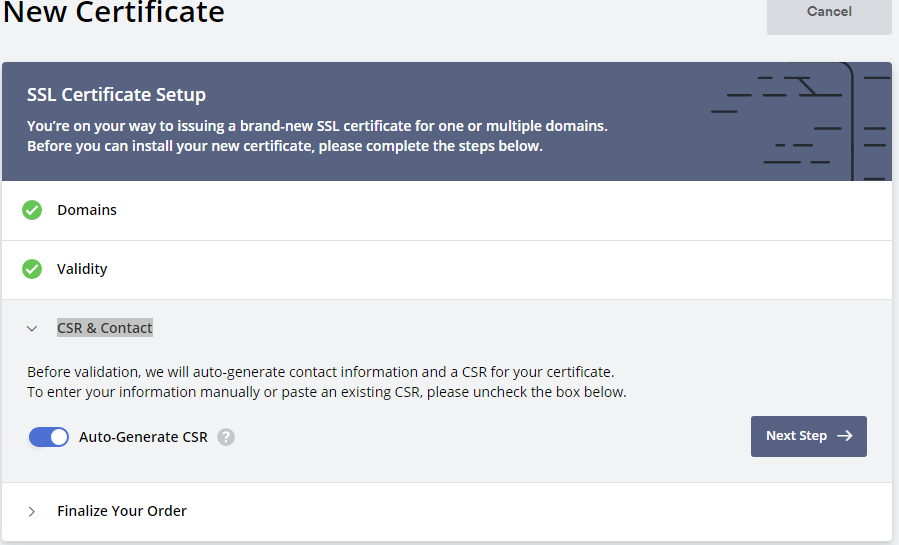
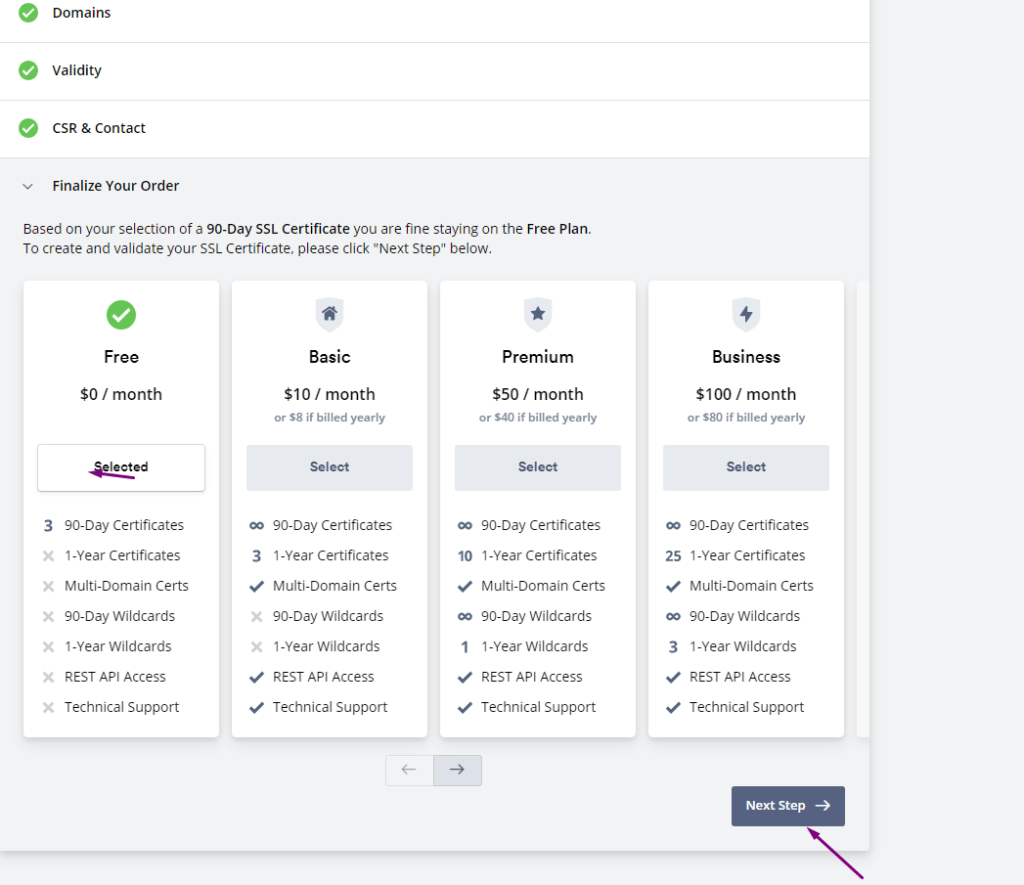
3. CSR & Contact
Finalize Your Order (you have to select )
You have limit to issue three free ssl to your domain. Once the process of plan selection done now you have to verify your domain.
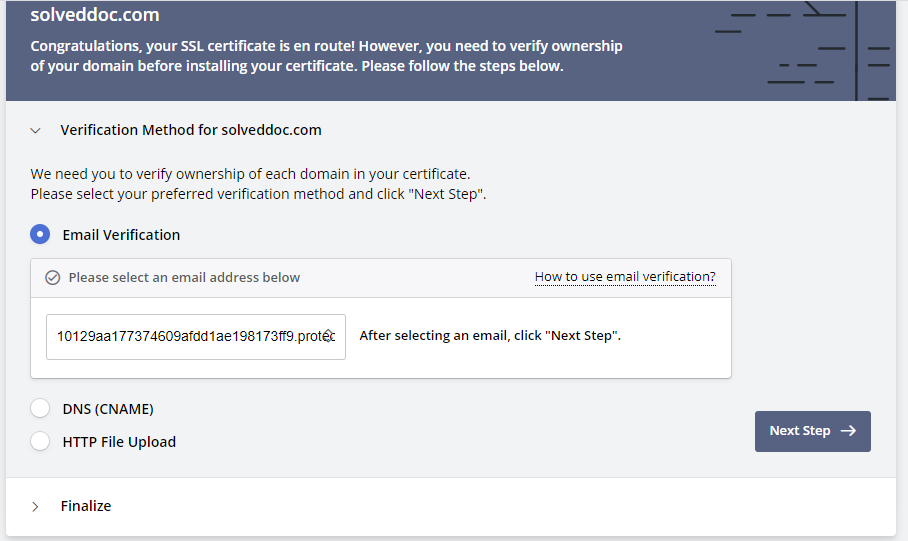
Verification Method:
ZeroSSL allow three types of verification:
Email Verification
DNS (CNAME) HTTP
File Upload
You can chose any one you are comfortable with. If you have this email then use it, or update DNS records according to the second or upload the file to dns.
Verification Method:
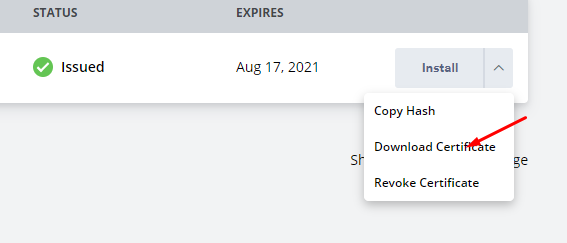
After this you will get a option to download SSL. you can download crteficate.
download SSL
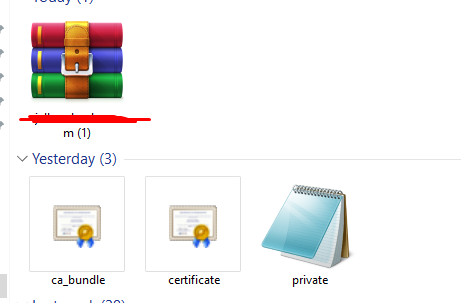
Add ZeroSSL to your Website?
When you got your SSL file there must be three files after extracting. ca_budle, certificate, private key
Add these files values according to the require mint on your site.
How to solve the can’t upload the file on file manager issue in CyberPanel?
if you are uploading a file on file manager in CyberPanel. and getting some error there. Follow this short solution for can’t upload the file on CyberPanel file manager.
Solution
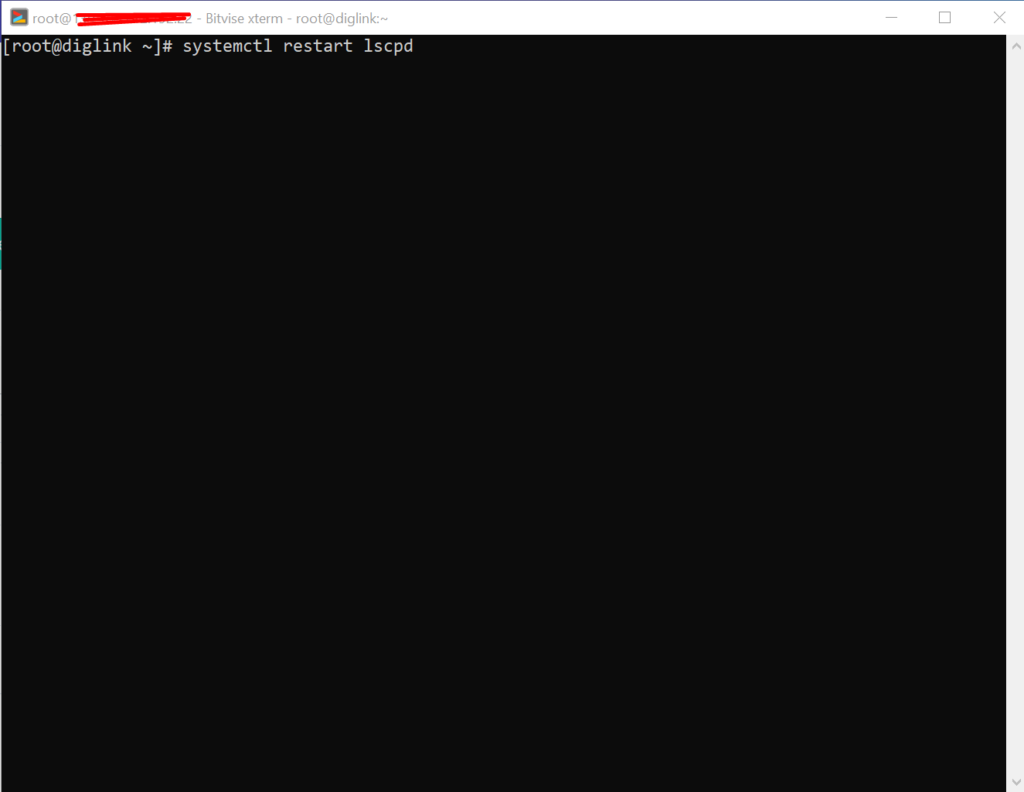
There is very easy and short solution for this issue. Access your root through Bitvise or putty open your terminal(CLI) and run this Command
Systemctl restart lscpd
This simple command will restart all of your CyberPanel services and now if you can try you can easily upload any file but there may be upload limit issue if so you can follow this tutorial to solve that Link below.
Maybe you have installed MailScanner on your server from CyberPanel, And you want to remove it for some reason. In this article, we are going to show how to remove MailScanner from CyberPanel?.
What is MailScanner?
MailScanner is an open-source email security system. it designed for a Linux-based email gateway. The purpose of MailScanner is to scans email for viruses, spam, phishing, malware, and other attacks against security vulnerabilities.
Follow the procedure to remove MailScanner form CyberPanel:
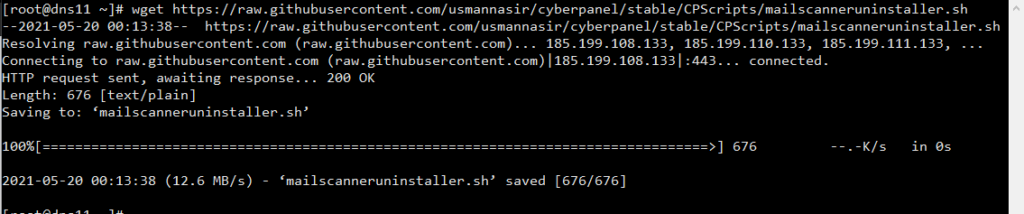
1. Download MailScanner uninstaller script form GitHub
Frist you need to download uninstaller form GitHub . Run this command on CLI it will download MailScanner uninstaller
How to fix Fix WordPress 404 permalink OpenLiteSpeed- 404 error on OpenLiteSpeed
If you host your WordPress websites with OpenLiteSpeed you may get a 404 error on the permalink of your website. here in this article, I will explain how you can fix ix WordPress 404 permalink OpenLiteSpeed.
OpenLiteSpeed is the free version of LiteSpeed Enterprise and this free version is not as stable as the paid version. Not OpenLiteSpeed WordPress permalink often gives 404 error. When you move site from one server to another or made any change this error comes up. Here i will discuss few methods to solve this issue.
Methods to fix WordPress 404 permalink OpenLiteSpeed:
Method 1 Fix Permissions:
If you are using CyberPanel and you did any change of website after that 404 error come to the site you can fix it by doing few thing.
Fix permissions from the file manager
Restart OLS
Fix Permissions from the file manager:
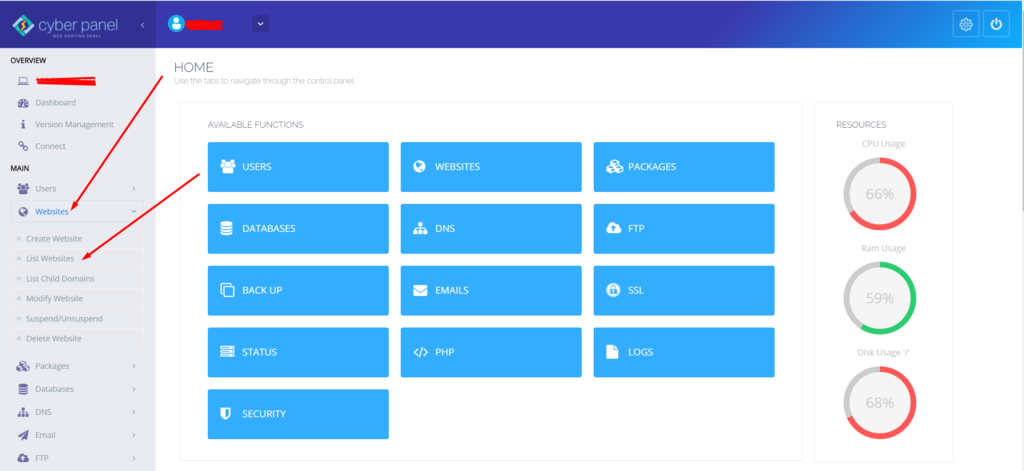
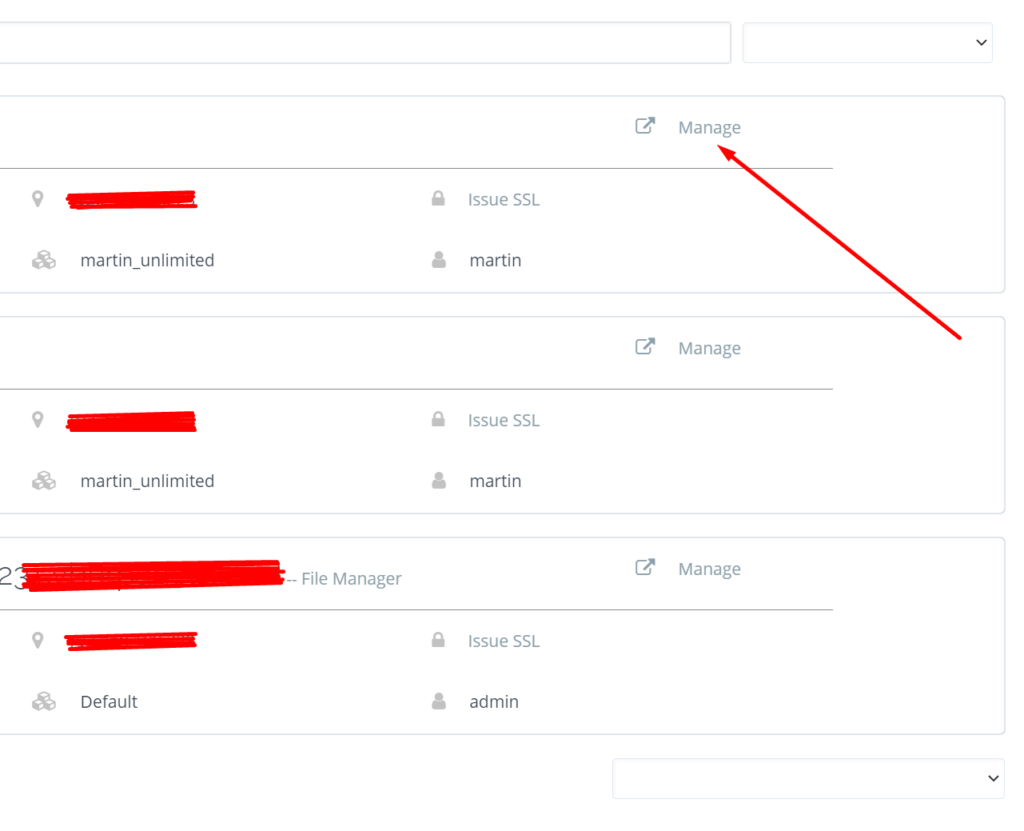
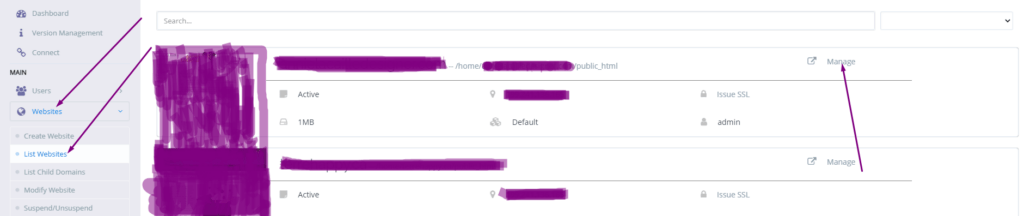
To fix permission you have to log in to your cyber panel then go to the Websites-> List website select the domain for which you have to fix the issue then press the Manage button present in front of the website.
Manage Website
On the Website Dashboard you can see File Manager press to access the file manager.
File Manager
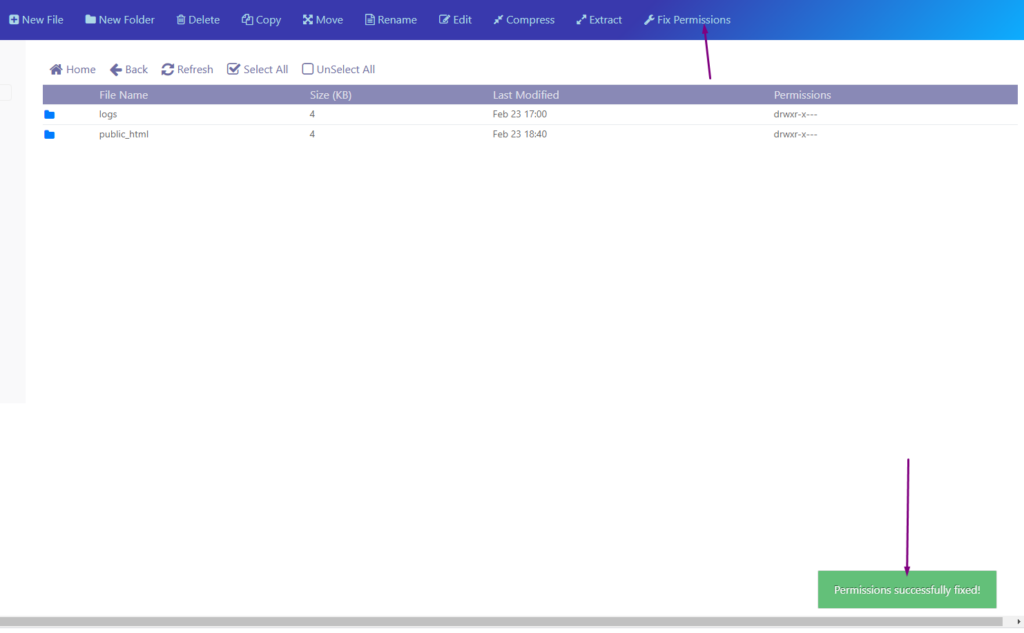
In file manager click Fix Permission button and you can see the success massage in green color.
Fix Permission
After doing all now its time to restart OLS.
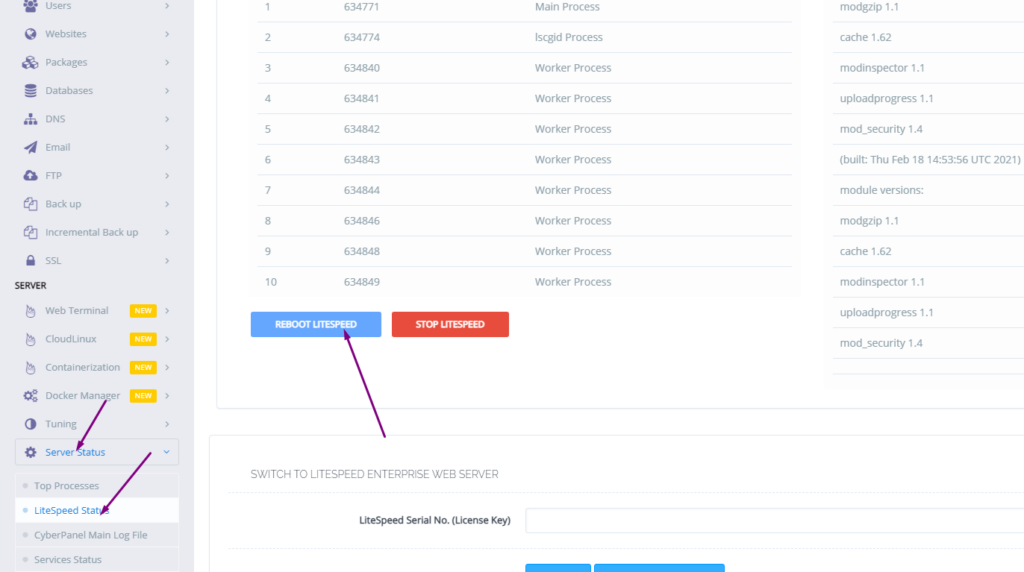
Restart OpenLiteSpeed:
To restart OLS from CyberPanel you have to go on Server Status ->LiteSpeed Status and then you see two-button shutdown and reboot. Press the Reboot button and you can see a success message.
Restart OpenLiteSpeed:
Method 2 htaccess:
An other reason is the missing rules in htaccess for WordPress. To check htaccess rules. Go to the Public_html folder of the website. If you have CyberPanel go to the Website->List Websites then press Manage button.
Then go to the file manager from the Website Dashboard.
File Manager
In file manager open and open .htaccess file and see if there is rules or if the file is empty.
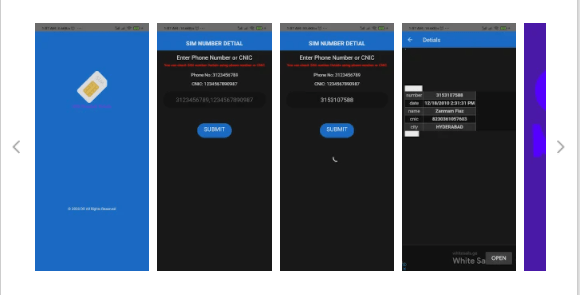
How to check any SIM Number Details Online? SIM Number Details Android Application
Do you want to know the SIM Number Details of any number? Are you disturbed by the annoying and wrong calls? Is there someone who constantly annoying you?
If you want to know the information of any number you can download this SIM Number Detail application from the play store and check the number today.
SIM number detail is a free app using this app you can check any sim number information from your mobile phone.
SIM Number Details
If you are annoyed with the wrong callers and want to know the owner of that sim number download this SIM number details application and check today.
You just need to provide the number of the sim without 0 (zero) and details are there. You can see the CNIC, Address, Other numbers, etc.
The data on this application is taken from a domain that is publicly available. This data is old from 2015 new data will be available soon once they updated.
You can also check the SIM owner by using any CNIC number. Through this app, you can check the records using the phone numbers as well as CNIC. Features In-app:
1. Easy to use (User-friendly GUI)
2. Check details using CNIC or phone number
3. Details including address, phone number, etc.
Maybe some information is not up to mark as information is old.
DISCLAIMER:
This is a free application. Data presented in it taken from the website which is publicly available. The author of this application assumes no liability or responsibility for any errors or omissions in the content.
Download SIM Number Details Application From Play Store :
This application is free and online download and use now. The data presented in this application is old and for some specific regions.