Discovering how to access the Control Panel on Windows 10, 8, or 7? This article presents a comprehensive guide featuring 10 different methods, including shortcuts for Windows 10, control panel via cmd to open the Control Panel, and more.
What Is a Control Panel in windows?
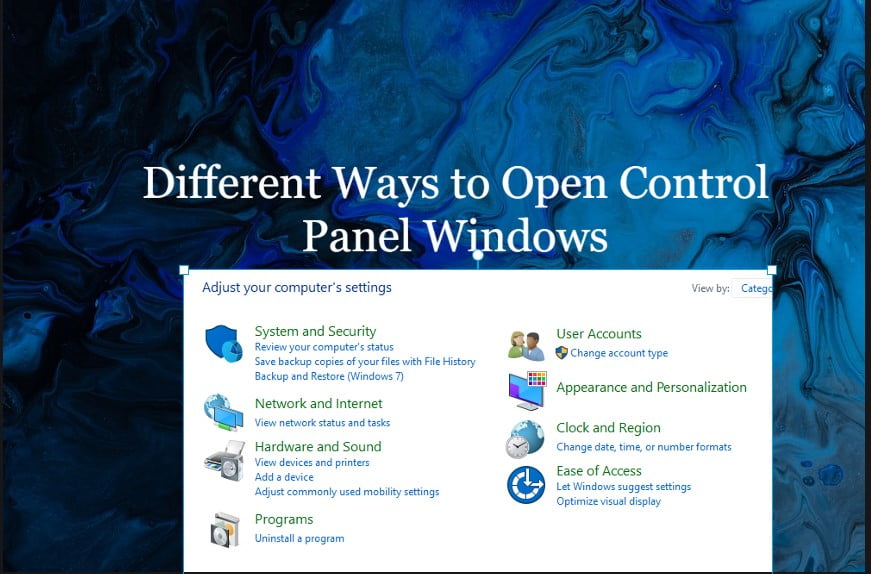
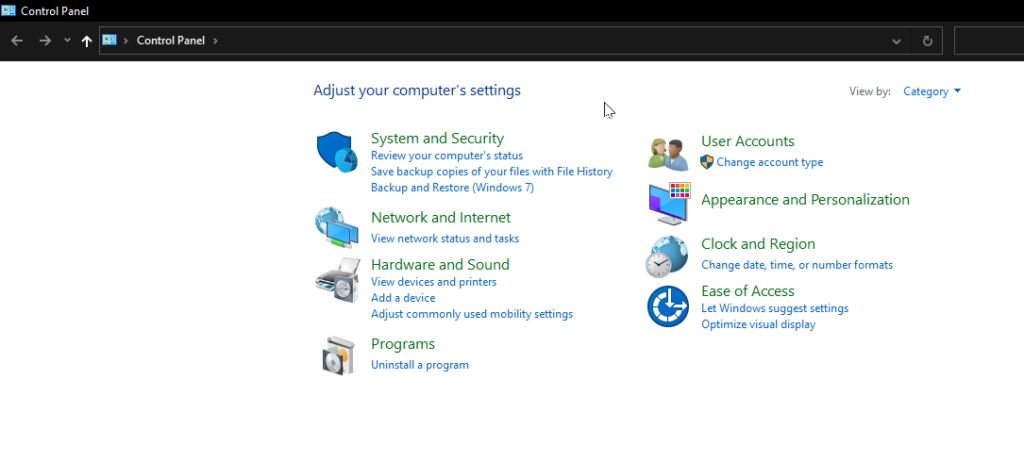
Control Panel is a crucial component of the Windows operating system. It serves as a centralized hub that allows users to manage and configure various settings and features of their computer. Through the Control Panel, users can customize hardware and software settings, install or uninstall programs, modify user accounts, adjust display and resolution options, set up network connections, manage security settings, and perform many other administrative tasks.
In essence, the Control Panel provides a user-friendly interface for accessing and adjusting the system’s settings, making it easier for users to personalize their Windows experience and optimize their computer’s performance according to their preferences and needs. While newer versions of Windows may introduce alternative ways to access certain settings through the Settings app, the Control Panel remains an essential and powerful tool for advanced system management and configuration.
Accessing Control Panel in Windows 10 using the Search Box
To open the Control Panel in Windows 10 using the Search Box, follow these steps:
- Click on the Start button located at the bottom-left corner of the screen, or press the Windows key on your keyboard.
- In the search box that appears next to the Start button, type Control Panel and wait for the search results to display.
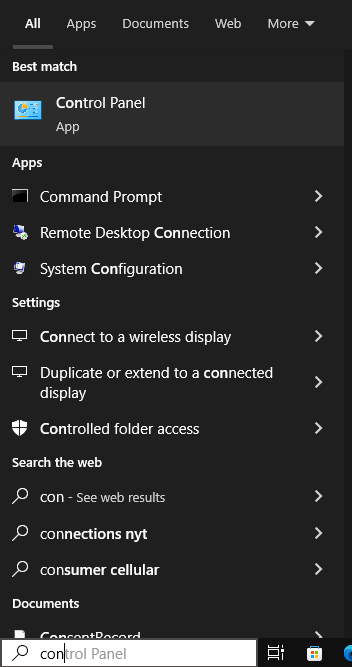
- From the search results, click on the Control Panel app or select it with the arrow keys and press Enter.
The Control Panel will now open, allowing you to access and manage various settings and configurations on your Windows 10 computer. control panel via cmd
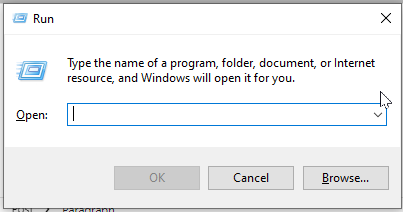
Open Control Panel Windows via Run:
To open the Control Panel on Windows 10, 8, or 7 using the Run dialog, follow these steps:
- Press the Windows key + R on your keyboard. This will open the Run dialog.
- In the Run dialog, type “control” (without the quotes).
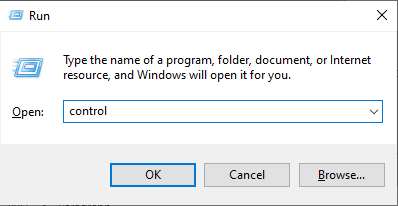
- Click on the “OK” button or press Enter.
Open Control Panel Windows 10 from Quick Access Menu:
To open the Control Panel from the Quick Access feature in Windows Explorer, you can follow these steps:
- Press the Windows key + E on your keyboard to open Windows Explorer (File Explorer).
- Look on the left-hand side of the Windows Explorer window. You should see a section called “Quick Access” with frequently used folders listed.
- Scroll down in the “Quick Access” section until you find “Control Panel” listed.
- Click on “Control Panel” to open the Control Panel window.
Open Control Panel Windows 10 through Cortana:
You can also open control panel vis Cortana:
- Make sure you have a working microphone and speaker on your computer.
- Activate Cortana by saying “Hey Cortana” if you have enabled the “Hey Cortana” feature. Alternatively, you can click on the Cortana icon on the taskbar to activate it.
- Once Cortana is listening, say “Open Control Panel.”
- Cortana should process your command and open the Control Panel window on your Windows 10 computer.

Control Panel via cmd
Sure, you can open Control Panel in Windows 10 using PowerShell. Here’s how you can do it:
- Open PowerShell: Press the Windows key on your keyboard, type “PowerShell,” and then press Enter.
- In the PowerShell window, type the following command and press Enter:
codecontrol
This will open the Control Panel window on your Windows 10 computer.
Alternatively, you can also use the Start-Process cmdlet to open Control Panel from PowerShell:
Start-Process "control.exe"
Both of these methods will open the Control Panel, allowing you to access various system settings and configurations.
Conclusion:
In conclusion, this article explored various methods to open the Control Panel on Windows operating systems. Whether through traditional navigation, keyboard shortcuts, Run dialog, Command Prompt, or PowerShell, users have a range of options to access the Control Panel and customize their system settings efficiently. By understanding these different approaches, users can choose the method that best suits their preferences and needs, enhancing their overall Windows experience.
We have an other article on this as well check here. For old version CyberPanel official guide is here.
You can follow us on Facebook too.