configuration / domain / Installation / Page Speed / Technologies / WordPress / WordPress Plugins / WordPress Techniques
Factors Affecting WordPress website page Speed
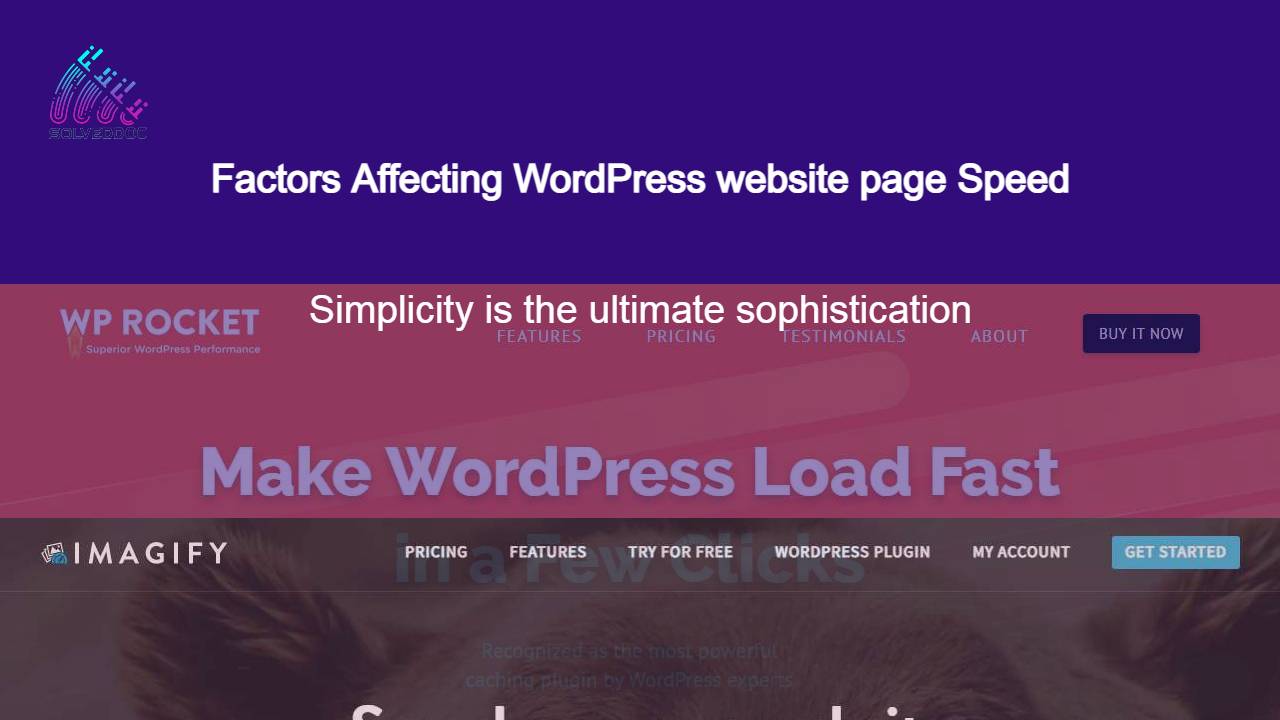
Here in this article we are going to discuss Factors Affecting WordPress website page Speed. Do you like websites which take some time to load? Do you want to visit again on site on which you wait for page to open? I think no one like to wait for loading of slow sites. Users always