12+ Free MS Word Alternatives You Can Use Today (Mostly Free & Powerful Tools)
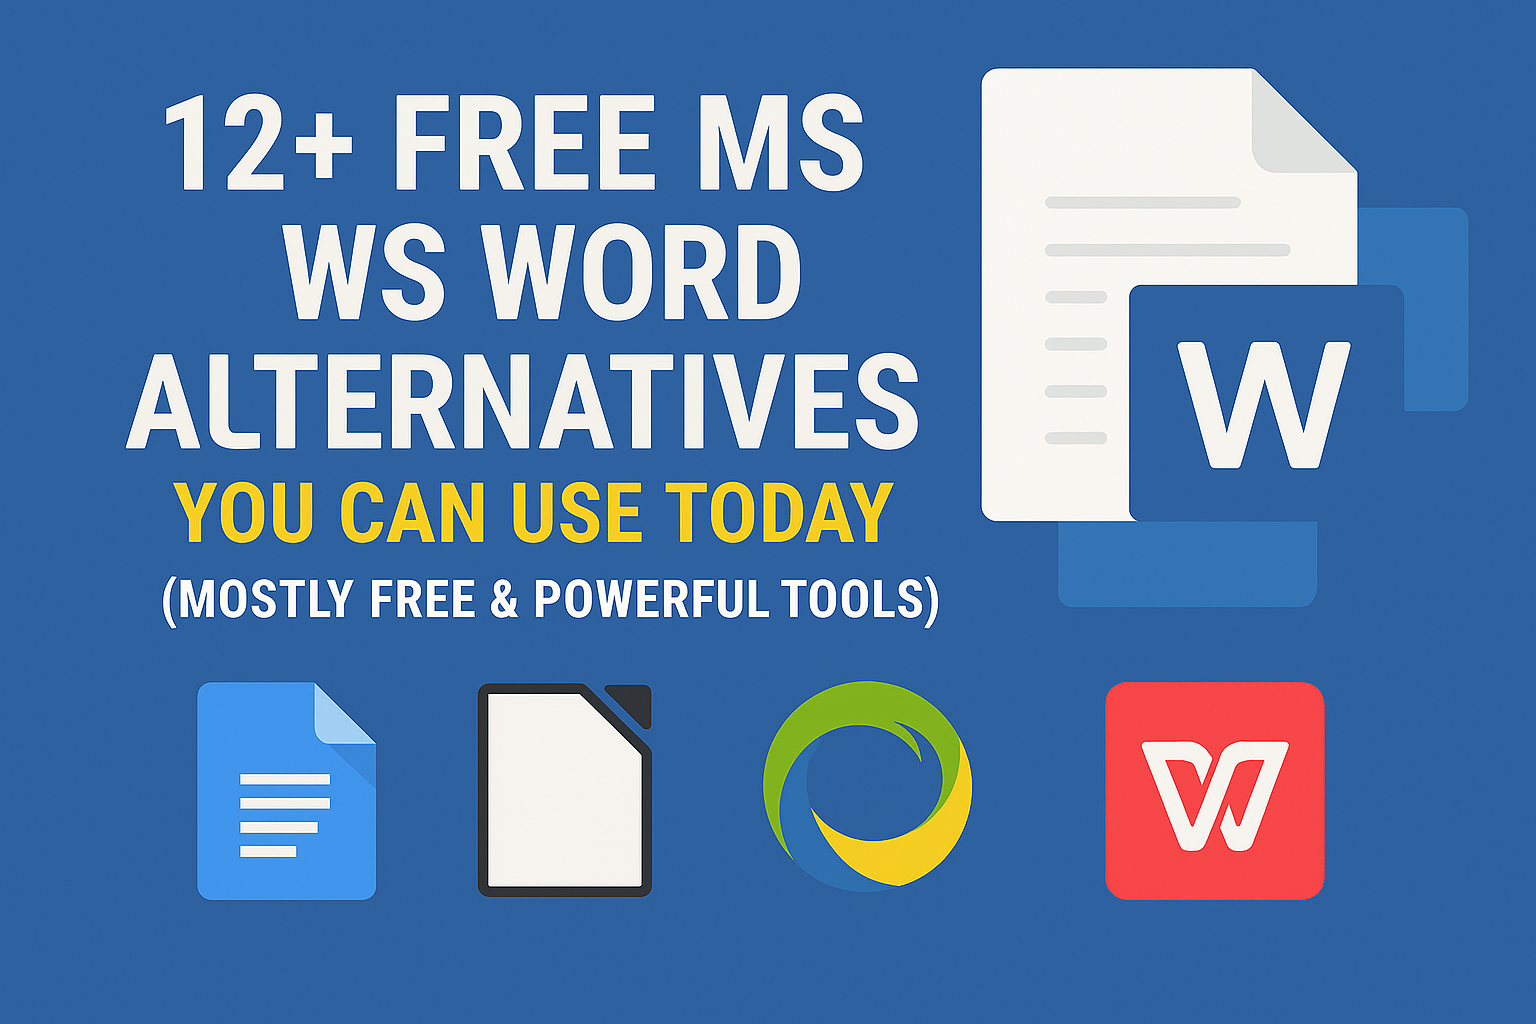
For years, I relied on Microsoft Word for all my document and content needs, thinking no other application or software could match its efficiency. But as my tasks grew and my workflow became more demanding, I began exploring alternatives that could better support creation, conversion, and upload capabilities—all without the cost of Microsoft Office. To