This article will discuss the CyberPanel features list. All the features discussed in detail. This CyberPanel features list has all the features CyberPanel has.
CyberPanel Dasboard:
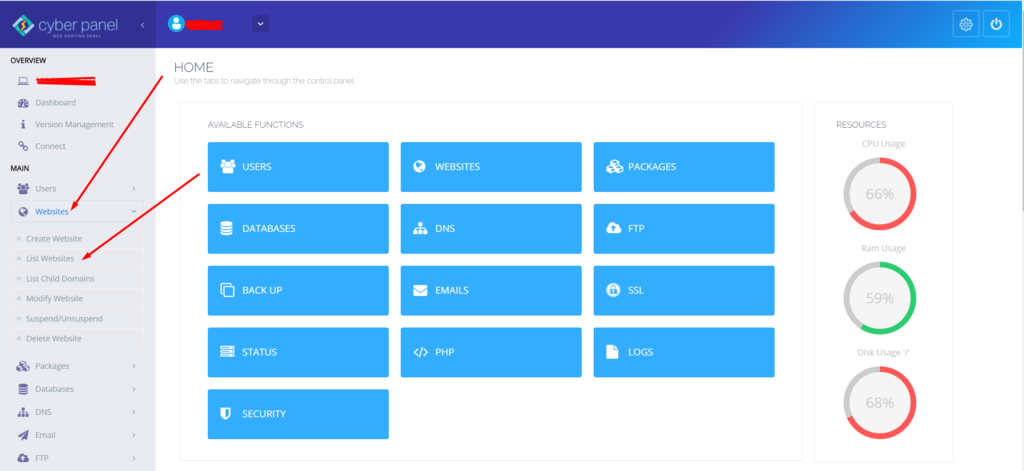
After login, you come to the base page, which is the CyberPanel dashboard. On the dashboard, you can see a sidebar on the left side, in this sidebar you can almost the feature of CyberPanel. In the center of the page you see those feature buttons you can access these feature from the sidebar lists or you can access through these buttons. On the right, you can see the Resources bar here you can see CPU usage, Ram usage, and Disk usage in percentage, how much you used the resources.
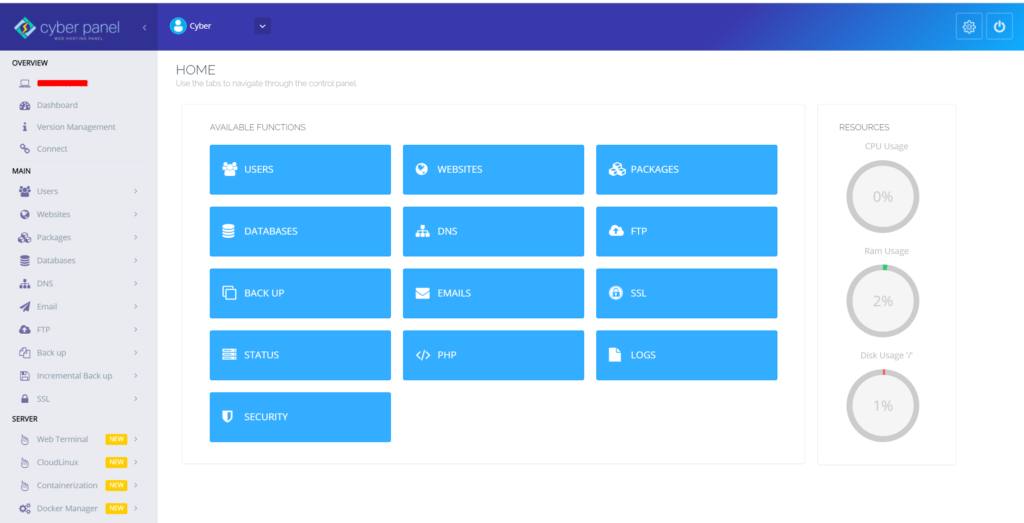
This is the all I discuss above are belong to the base/dashboard page of CyberPanel. now I’m discussing the sidebar feature list one by one.
CyberPanel Features List details
Sidebar in CyberPanel Dashboard:
here is the whole sidebar or CyberPanel Dashboard, the Sidebar is divided into three section that is Overview, Main, and Server.
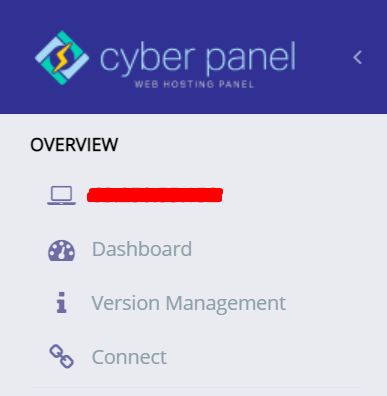
Overview
In the Overview section, there is the general information of your server,
On the Top, you can see the IP address(255.255.255.255) that IP is your server IP address.
The next button is the Dashboard button, after clicking on this button go to the dashboard.
The next button is version management, if you want to know about your CyberPanel version click on this button.
The last button in this section is Connect if you want to connect your server to the CyberPanel Cloud then click on this button
Read More: How to Change Upload limit On CyberPanel?
Main
On the second section of the CyberPanel dashboard sidebar, you can see a lot of feature dropdown lists,
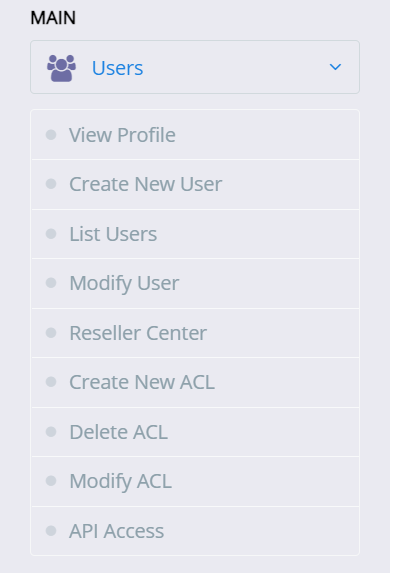
Users
This first feature is Users when you click on Users a dropdown list shown on your sidebar that has a lot more features.
View Profile, this feature shows your account details e.g Username, Account ACL, Email, etc.
Create New User, if you want to create a new user click on this button.
List Users, if you want to list all users of CyberPanel click on this button the all use show on your screen.
Modify Users, as the name shows, this button is for update/modify your user’s information.
Reseller Center, This feature issue the Reseller account.
Create New ACL, This feature is for Creating a new ACL (Access Control List)
Delete ACL, if you want to Delete ACL (Access Control List) this feature is for deleting.
Modify ACL, if you want to modify or update ACL (Access Control List) click on this.
API Access, Enable or disable via this button.
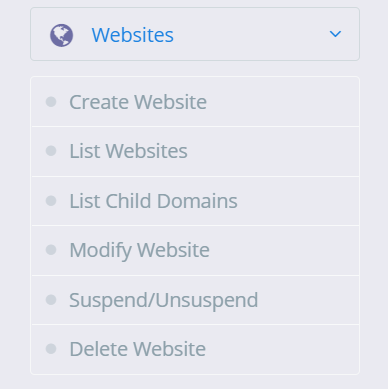
Websites
On the Section, the whole information about your websites that you are deployed on this server.
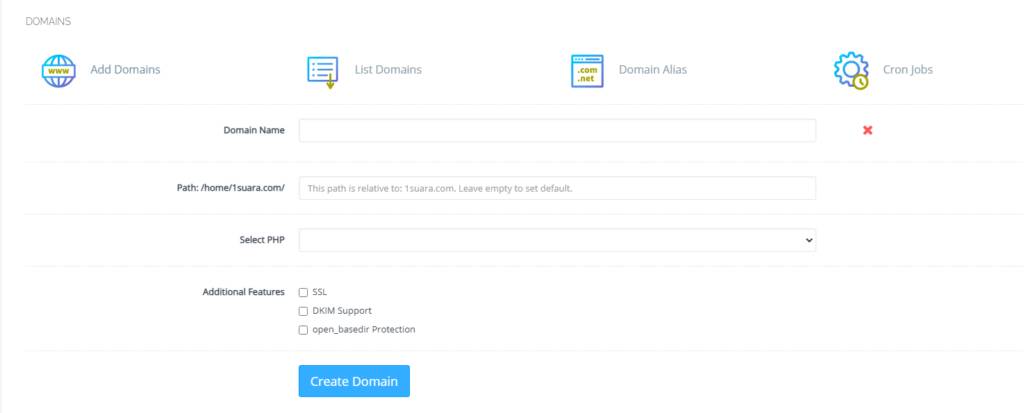
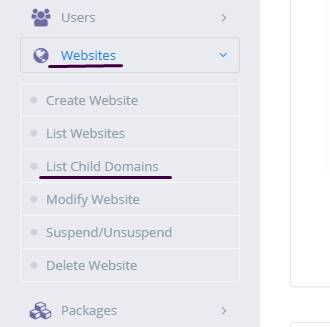
Create Website, You can create a new website by clicking on the button
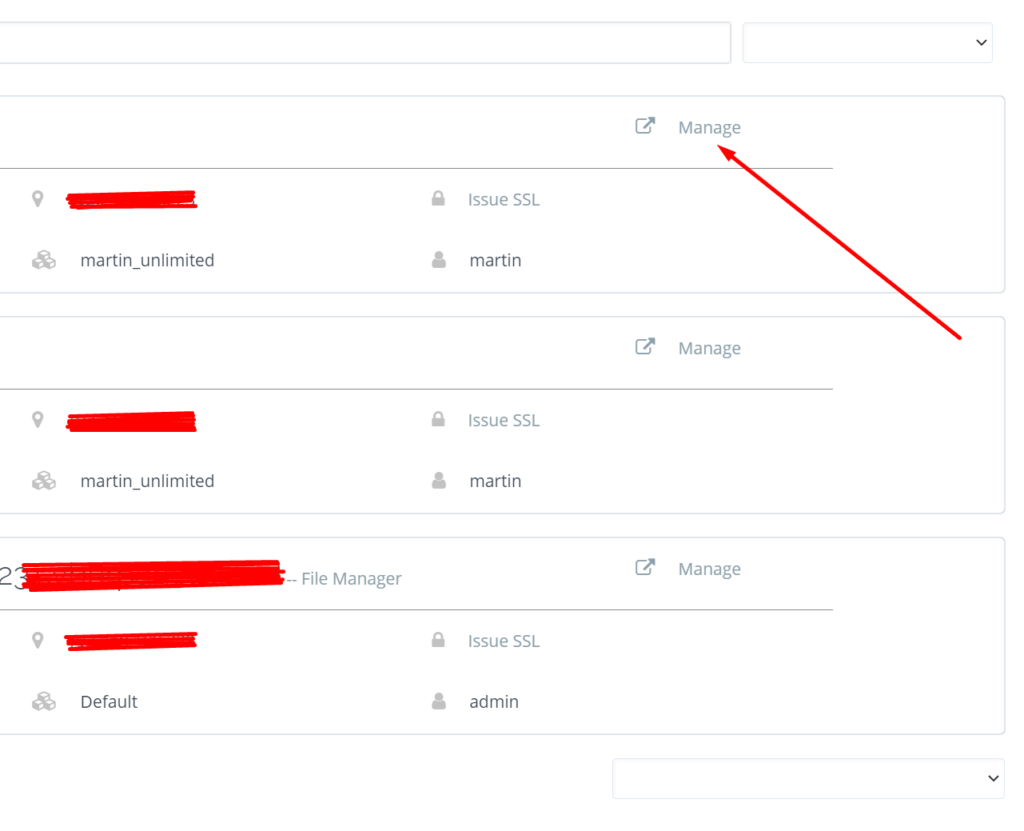
List Website, You can list you all website that are deployed on your this server
List Child Domains, if you want to List all Child domain you can view all by clicking on this button
Modify Website, if you want to update/Modify your website click on this button
Suspend/Unsuspend,
Delete Website, if you want to delete your website click on this button.
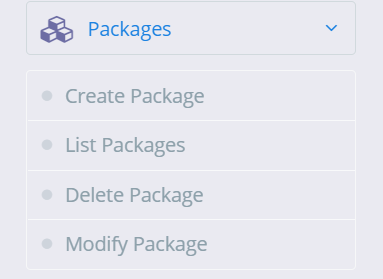
Packages
Packages on CyberPanel help you assign resources to an individual website, you must create at least one package before you start creating websites.
Create Packages, You can create a package according to your requirement.
List Packages, List all Packages.
Delete Package, Delete the packages you won’t need anymore.
Modify Package, If you feel the need to modify the parameters for the existing package you can do so via modify package page.
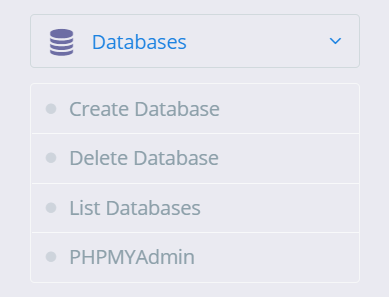
Database
On the Database, you can create, delete, list, and access your database
Create Database, if you want to create a new database click on this button
Delete Database, On this button, it will delete the database
List Database, On this button it will list the database after selecting the website
PHPMyAdmin, if you want to access your PHPMyAdmin click on this button.
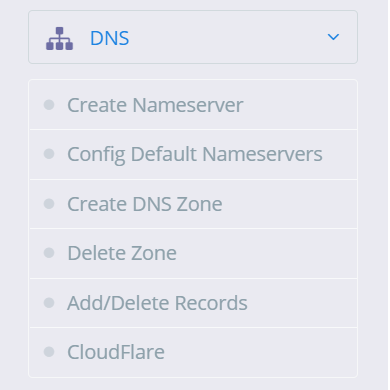
DNS
On this Button the whole information about DNS(Domain Name Server)
Create Nameserver, You can create a NameServer according to your requirement via this button.
Config Default Nameservers, Configure Nameserver via this Button
Create DNS Zone, Before you can use the “ADD/MODIFY DNS Records” page you have to create a DNS zone first, this is the first step to start using the DNS server.
Delete Zone, Once the DNS zone is created you can delete the zone using this button.
Add/Delete Records, Once the DNS zone is created you can add or delete records using this button.
Cloudflare, In version v2.0.0, CyberPanel has added the ability to synchronize DNS entries between Cloudflare and CyberPanel DNS on your own server
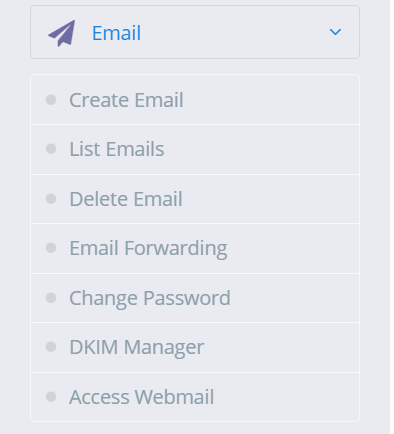
In this section, you can create, list, delete email, etc,
Create Email, if you want to create a new email then click on this
List Email, This button is for List all Email created on the website.
Delete Email, if you want to delete Email click on this button
Email Forwarding,
Change Password, if you want to update or change the password of your email click on its button
DKIM Manager, access DKIM manager through this button
Access Webmail, access Webmail(Rainloop) through this button
FTP
Create FTP Account, click on this button to create a new FPT account
Delete FTP Account, if you want to delete an FPT account click on this button
List FTP Accounts, This button is for List all FTP account

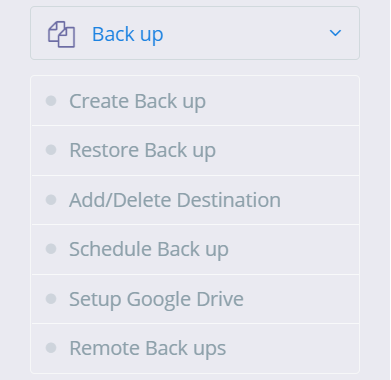
Backup
Taking complete backup of a website account is simple.
Create Back up, If you want to create a backup click on this.
Restore Back up, Backup restore only works with backups generated through the backup generation tool in CyberPanel.
Add/Delete Destination, if you want to Add or Delete Back up Destination click on this
Schedule Back up, if you want to schedule your website’s backup then click and produce.
Setup Google Drive, This feature is for Google drive one-click backup
Remote Backups, this feature is for Remote backup
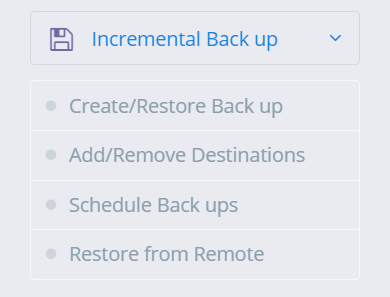
Incremental Back up
CyberPanel version v1.9.1 adds supports for incremental backups, Local, SFTP, S3 backup
Create/Restore Back up, you can create a local or remote incremental backup.
Add/Remove Destinations, From this button, you can directly go to backup destinations.
Schedule Backups, if you want to schedule your website’s backup then click and produce.
Restore from Remote this feature is for Incremental Remote backup
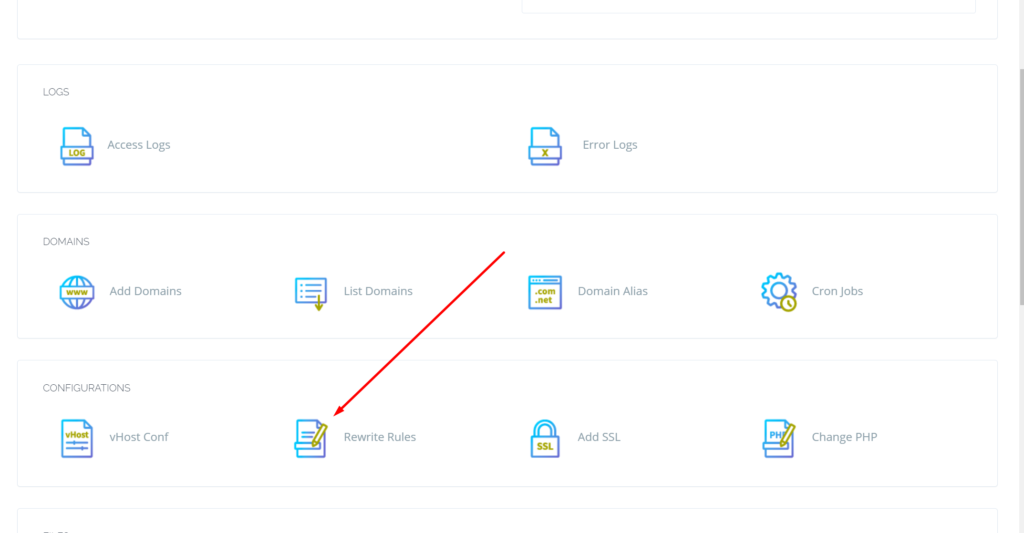
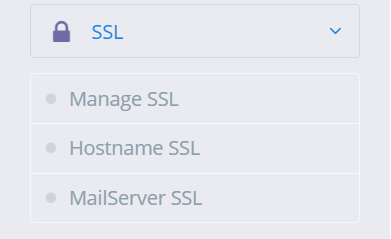
SSL
Manage SSL, If you want to Manage SSL click on this button and manage
Hostname SSL, If you want to issue Hostname SSL you can issue it via this button
MailServer SSL, this button is for Mailserver SSl
Server
The third and last section of CyberPanel sidebae is server.
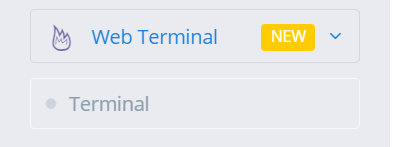
Web Terminal:
CyberPanel v1.9.2 onwards has a web terminal (to access your server SSH). However, in some browsers, you might not be able to use Web Terminal with default self-signed SSL. In that case, just set up CyberPanel on SSL. Now access CyberPanel using that domain.
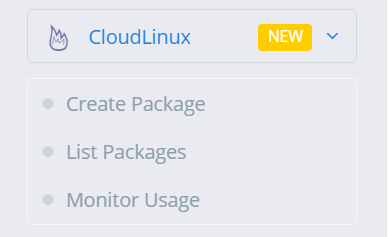
Cloudlinux
CloudLinux and CageFS is available with CyberPanel v.1.8.6, but before using any of its features, you need to convert your operating system to CloudLinux OS. Use the commands below to convert your server to CloudLinux OS.
Create Package,
List Packages,
Monitor Usage,
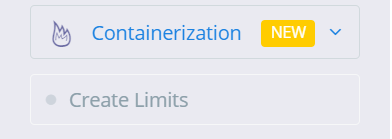
Containerization
Containerization feature (v1.8.0 and above required, currently only CentOS is supported) offers to limit website resources and have no link to our Docker Manager feature. With containerization you can limit various system resources for a website, groups are used on the back end to enforce these limits. You can limit:
- CPU Usage.
- Memory Usage.
- Network Usage.
- Disk Usage (IO and IOPS)
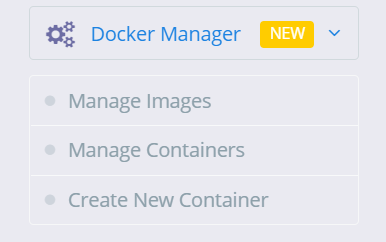
Docker Manager
CyberPanel gives you the ability to manage your Docker container and images the easy way. Some of the exciting features of CyberPanel Docker Manager:
- Search and pull images from Docker Hub (Along with tags).
- Prune the system.
- Create Container from available/pulled images.
- List and manage container that includes:
- Start/Stop Containers.
- View Logs.
- Export the file.
- View Processes inside the container.
- Delete Containers.
- Re-create containers.
Manage Images,
Manage Containers,
Create New Container,
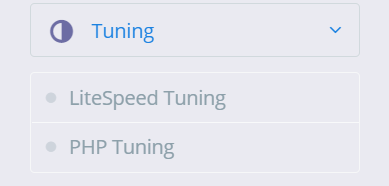
Tuning
LiteSpeed Tuning,
PHP Tuning,
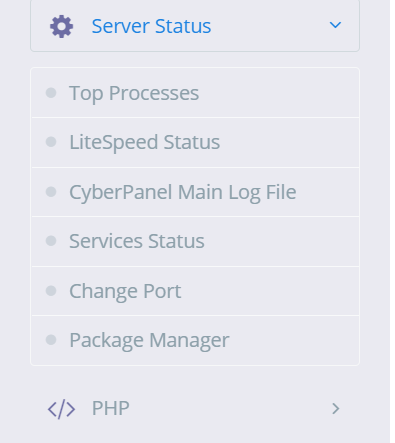
Server Status
This feature is for check your server status and maintains it.
Top Processes, from this feature you can check Top process.
LiteSpeed Status, from this feature you can LiteSpeed status
CyberPanel Main Log File, from this feature you can check CyberPanel Mail log files
Services Status, from this feature you can check your servers Status
Change Port, if you want to change your port then this feature is for that
Package Manager, from this feature you can access your package manager
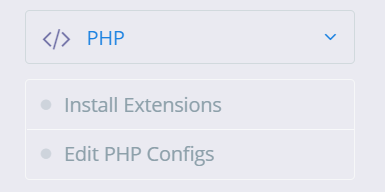
PHP
Install Extensions, if you want to install extensions e.g. redis etc extension you can install via this option
Eidt PHP Configes if you want to change or configure your PHP version or anything else then you can change from this option
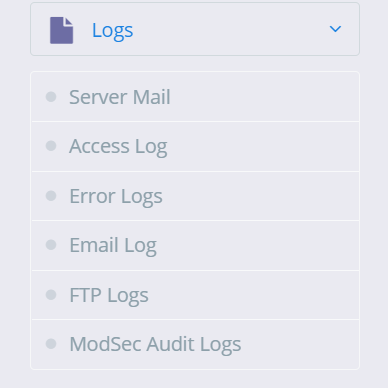
Logs
This is main featuer of CyberPanel. if you want see your server log you can watch from the option you can see:
Server Mail,
Access Log,
Error Logs,
Email Log,
FTP Logs,
ModSec Audit Logs,
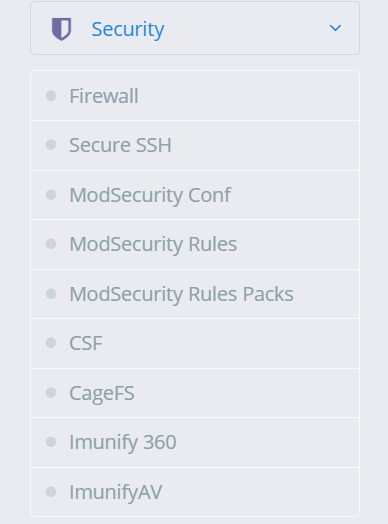
Security
This feature is for your server security. there is a lot of more feature in this.
Firewall, you can stop, start, reload, and add/delete firewall through his option
Secure SSH, Securing SSH is one of the most important tasks of a system administrator. CyberPanel allows you to change SSH port, disable root login and save your SSH keys.
ModSecurity Conf, this feature is for ModSecurity configuration.
The ModSecurity Rules, if you want to add/remove update or anything else with ModSecurity Rule you can from this option
For the ModSecurity Rules Packs, you can check the ModSecurity Rule pack from this option.
CSF, You can configure CSF(ConfigServer Security & Firewall) from this button
CageFS, you can enable/disable CageFS from this button
Immunity 360, you can enable/disable Imunify 360 from this.
ImunifyAV, you can enable/disable ImunifyAV from this.
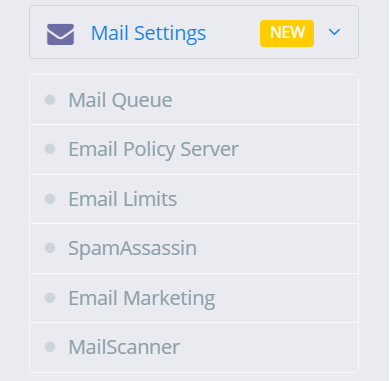
Mail Settings
This feature is related to your emails.
Mail Queue, If you want to see your mail Queue(pending mails) you can see.
Email Policy Server, this feature s for Email policy.
Email Limits, this feature is for email limits
SpamAssassin, you can Install SpamAssassin through this feature.
Email Marketing, this feature is for Email Marketing
MailScanner, If you want to install or remove MailScanner you can from this feature.
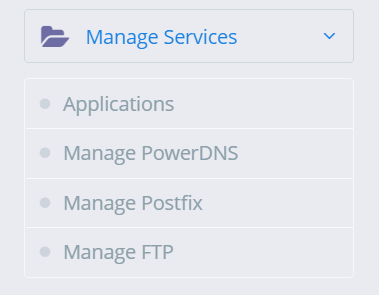
Manage Services
This feature is related to your server Service and application that you can install and check status.
Applications, you can install and uninstall applications from this feature.
Manage PowerDNS, PowerDNS is the service you can check this form this option
And Manage Postfix, you can check postfix service form this option
Manage FTP, you can check FTP form this option
Plugins
You can install new plugin and uninstall installed plugin from this feature.

This are the main CyberPanel features list.
Here you can read How to log in to the Rainloop admin dashboard?
Read More: How to Change Upload limit On CyberPanel?
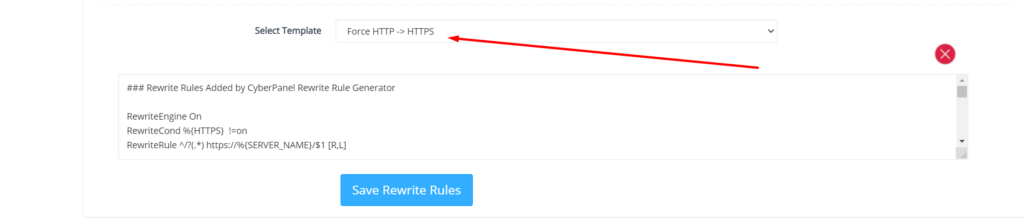
How to Change Upload limit On CyberPanel?
You can follow us on Facebook too.