CyberPanel is the only panel that comes with the OpenLiteSpeed and LiteSpeed Enterprise, both as well. CyberPanel is the first panel that started offering a LiteSpeed webserver. In the case of OLS, you need to restart the web server many times. So this is about restarting LiteSpeed cyberpanel.
Read a complete details guide for CyberPanel here.
Methode 1: Restart LiteSpeed CyberPanel Dashboard:
Cyberpanel provides a quick restart button for LiteSpeed whether you have the OLS or LSWS.
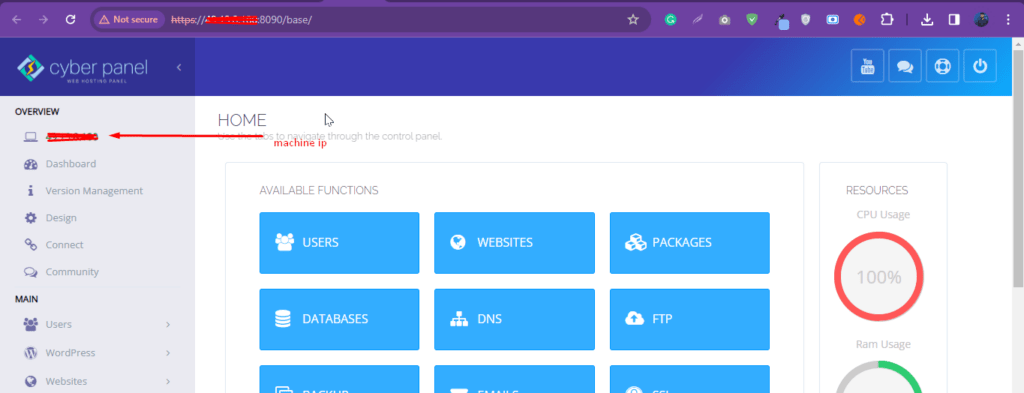
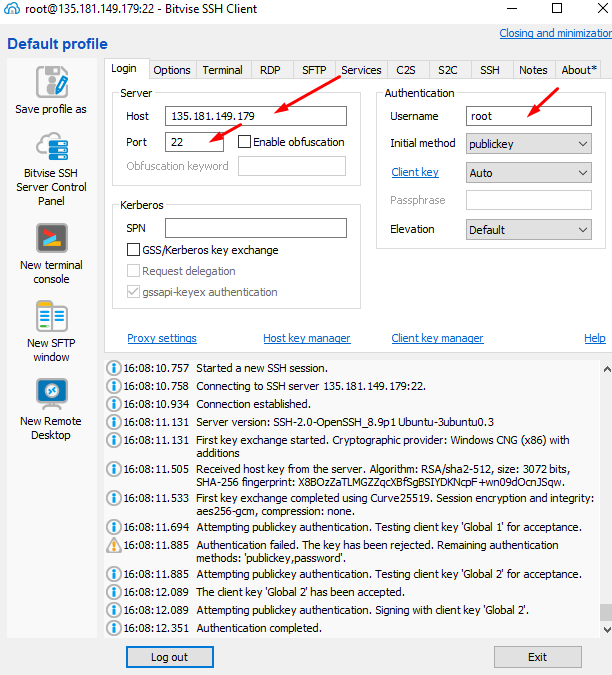
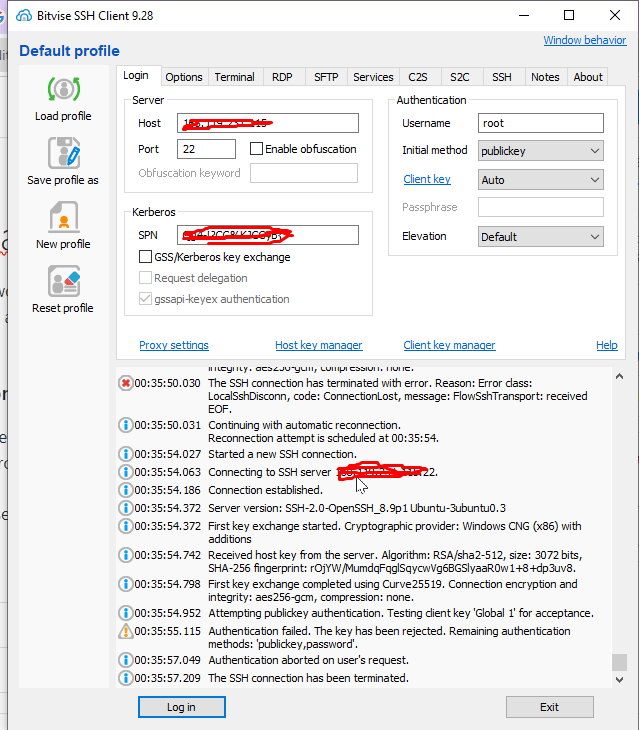
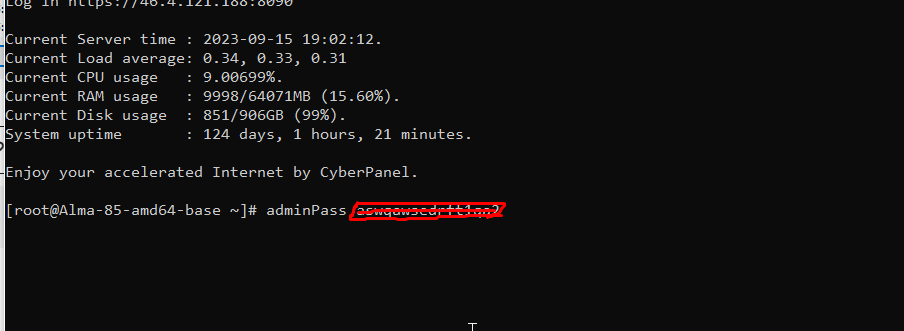
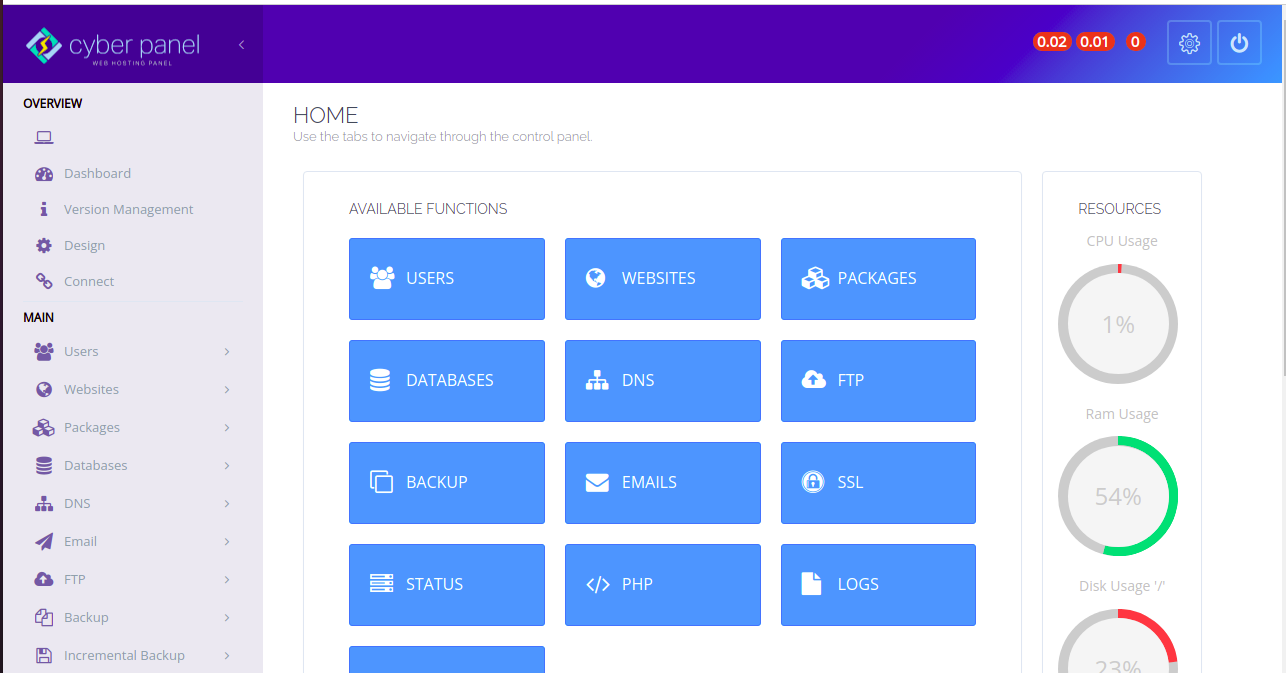
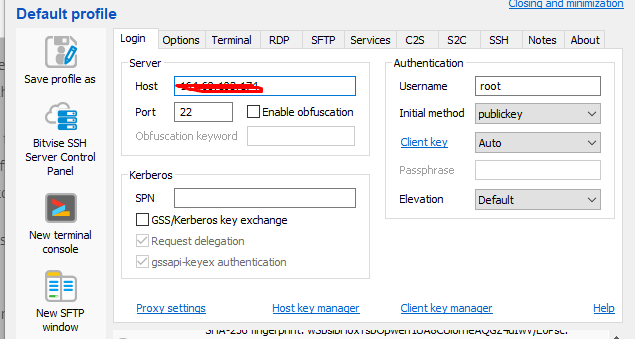
Login to your CyberPanel dashboard on port 8090 using your password and username.
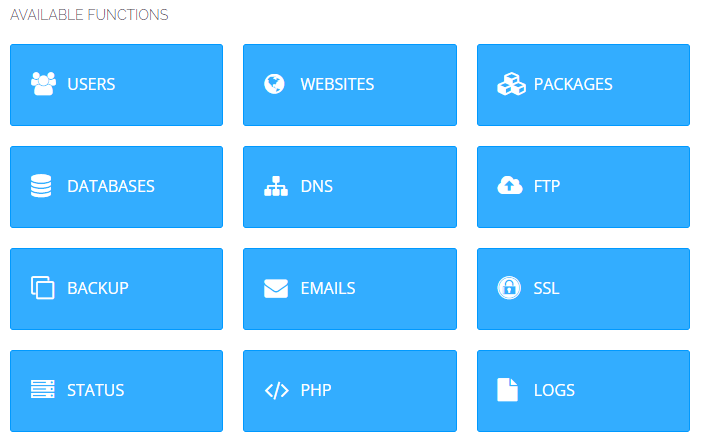
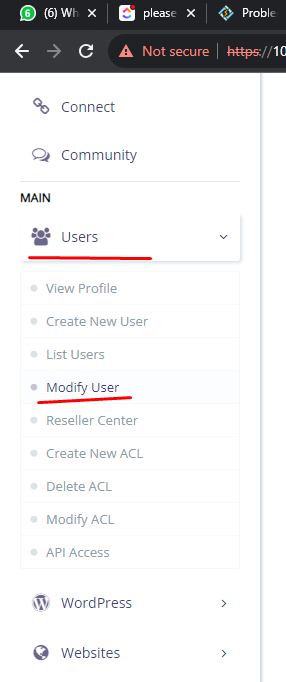
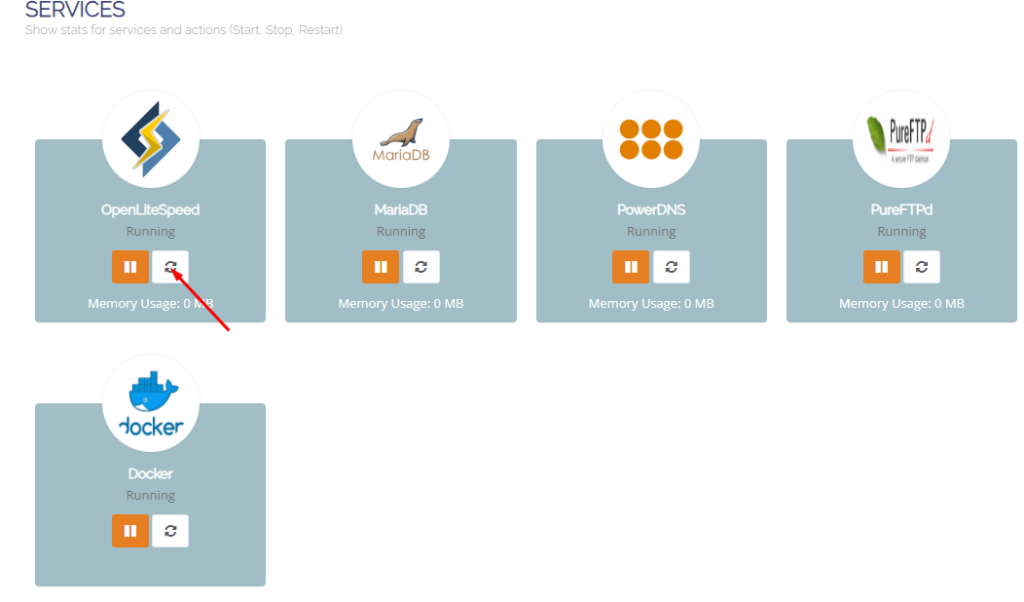
Now go to the Manage Services ->Services Status
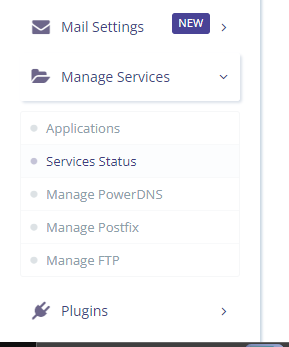
Here on the services page, you can see all of your active services you can now restart any service but in the first number, you can see LiteSpeed or open LiteSpeed and restart button in front of that just press that.
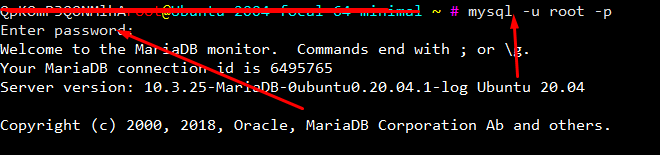
Methode 2: Restart LiteSpeed From Terminal:
LiteSpeed provides you with very short and easy commands to restart stop and restart. Litespeed has its own commands as well and you can do anything using systemctl or service command.
- Start LiteSpeed:
sudo service lsws start
OR
sudo systemctl start lsws - Stop LiteSpeed:
sudo service lsws stop
OR
sudo systemctl stop lsws - Restart LiteSpeed:
sudo service lsws restart
OR
sudo systemctl restart lsws - Graceful Restart: A graceful restart allows LiteSpeed to restart without dropping existing connections.
sudo service lsws reload
OR
sudo systemctl reload lsws - Check LiteSpeed Status:
sudo service lsws status
OR
sudo systemctl status lsws
LiteSpeed Specific Commands:
- Start LiteSpeed:
usr/local/lsws/bin/lswsctrl start - Stop LiteSpeed:
/usr/local/lsws/bin/lswsctrl stop - Restart LiteSpeed:
/usr/local/lsws/bin/lswsctrl restart - Graceful Restart:
/usr/local/lsws/bin/lswsctrl restart -g - Check LiteSpeed Status:
/usr/local/lsws/bin/lswsctrl status - Reload Configuration:
/usr/local/lsws/bin/lswsctrl reload
Remember to adjust the paths accordingly based on your LiteSpeed installation directory. These commands assume a standard installation; however, it’s always a good idea to verify the specific paths on your system.
Here you can read How to log in to the Rainloop admin dashboard?
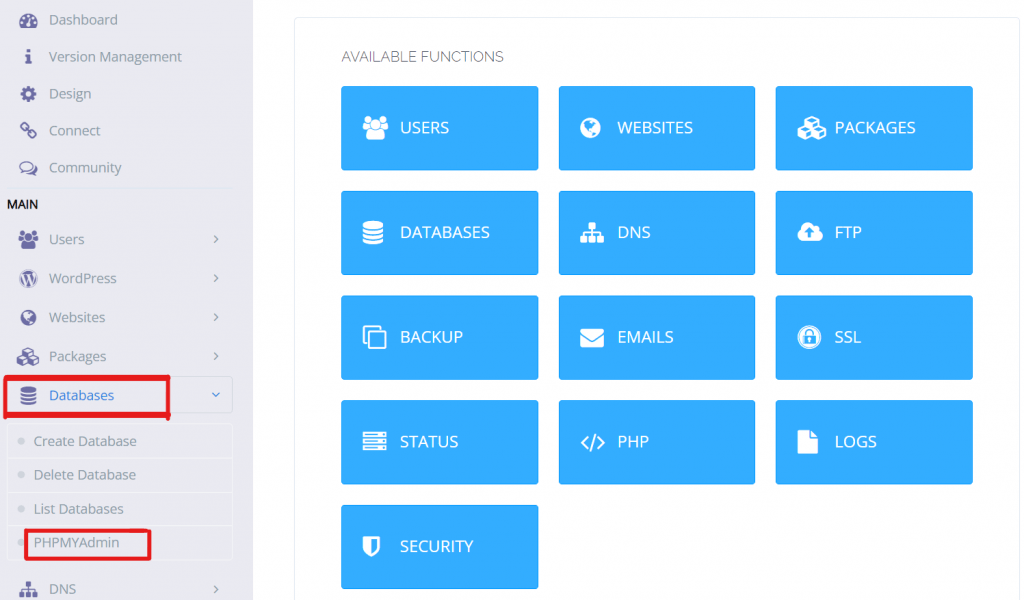
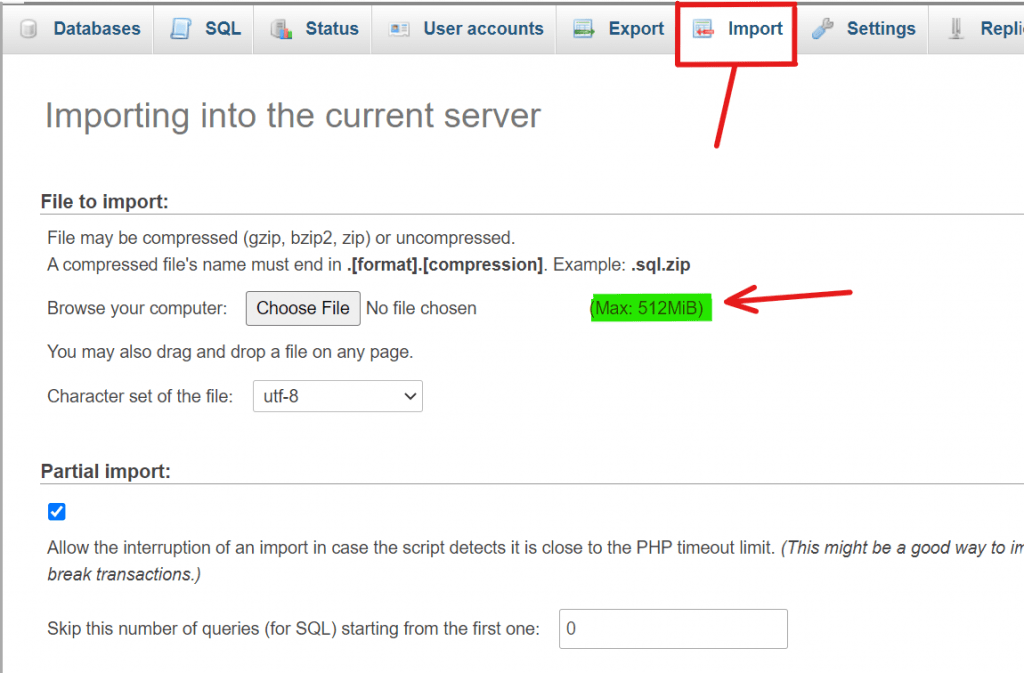
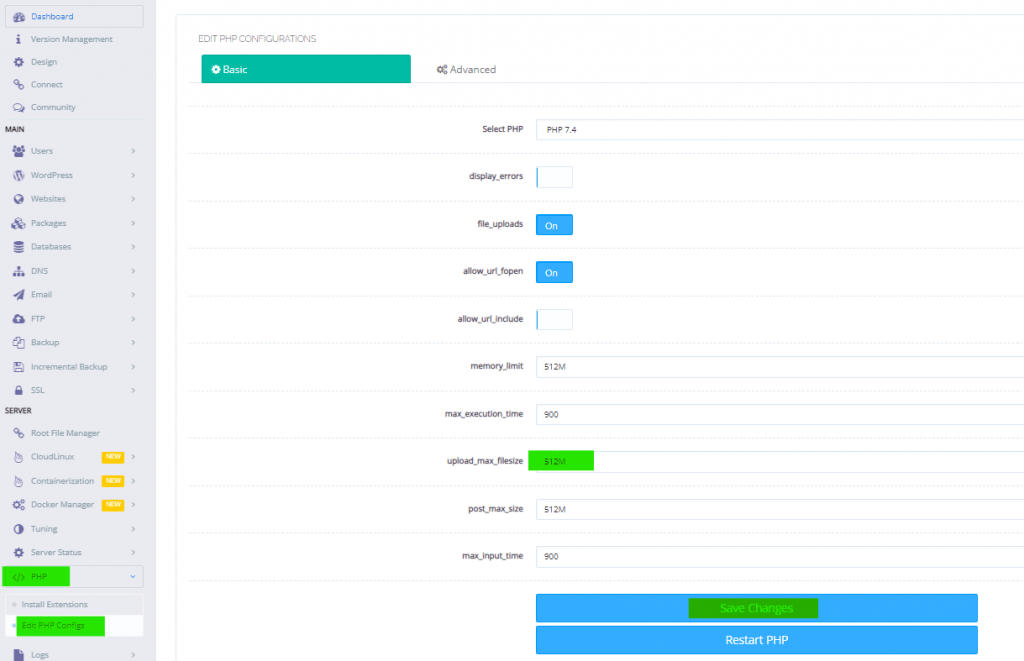
Read More: How to Change Upload limit On CyberPanel?
How to Change Upload limit On CyberPanel?
You can follow us on Facebook too.