How to Change Upload Limit for phpMyAdmin?
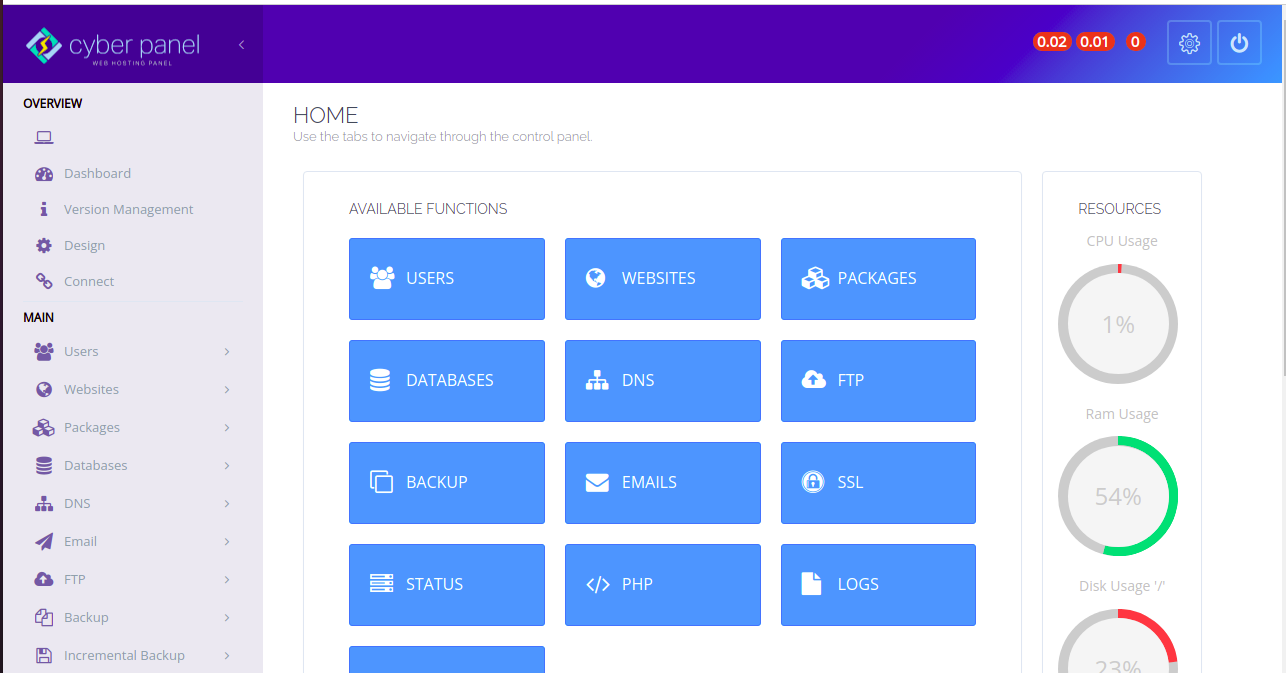
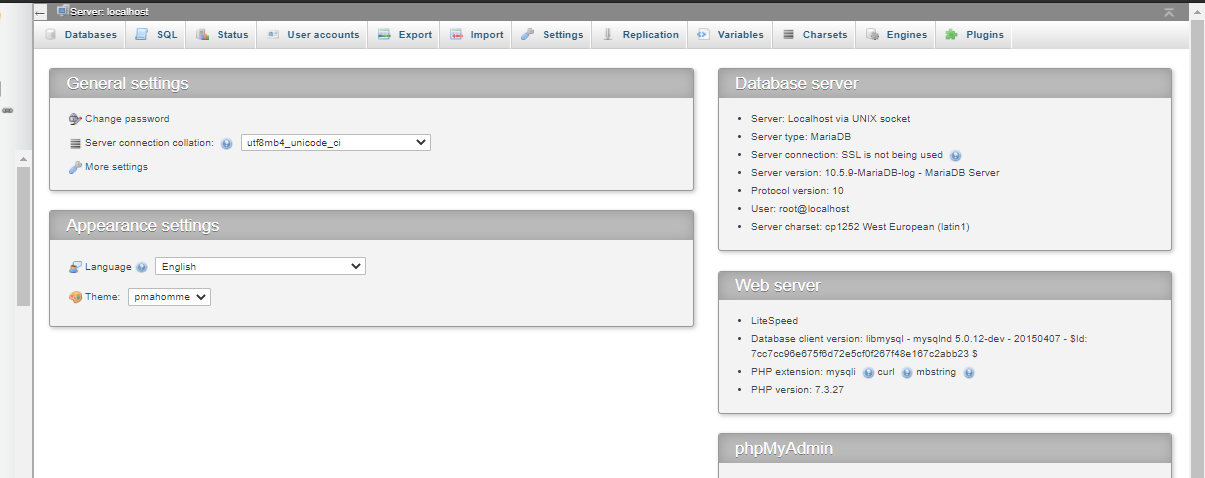
Step by Step procedure to Change upload limit for phpMyAdmin Step 1. Access PhpMyAdmin from cyberpanel Open the Cyberpanel Dashboard.Go to Databases –> PHPMYADMIN This will redirect you on the PhpMyAdmin. Step 2. Check the Max PHP limit. Go to the PhpMyAdmin dashboardClick on the “Import“.You will see the upload limit size. Step 3. Check