application / authentication / Command Line / configuration / CyberPanel / Dashboard / domain / Email / Installation / Linux / manage / RainLoop / Uncategorized
How to Access Rainloop Webmail in CyberPanel?
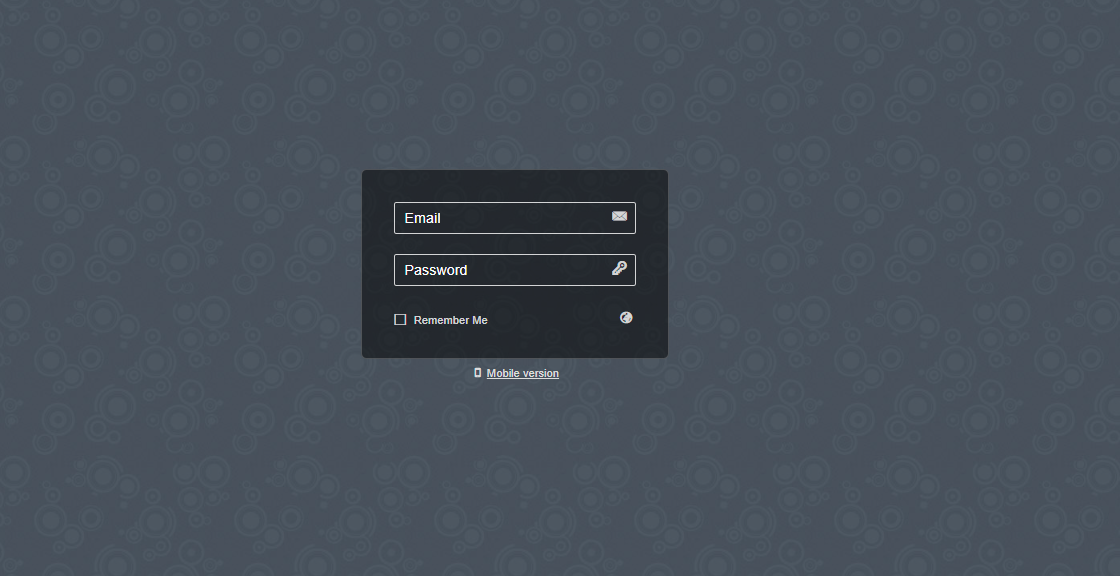
A lot of CyberPanel user uses Rainloop to handle their email. Rainloop is an internal email solution with CyberPanel. Here in this article, we will discuss how you can access Rainloop webmail in CyberPanel? Rainloop is an efficient memory webmail solution. it is a fast, simple, and modern web-based client email client. Rainloop is the